Implementing a Load balancer Solution with Apache for complete beginners
Implementing a Load balancer Solution with Apache for complete beginners
Load balancers are a special type of server farm that helps in efficiently distributing incoming network traffic across a group of backend servers. This helps in serving hundreds of thousands of servers if not millions of servers of concurrent requests from users and returns the correct text, image, video and application data in a very fast and reliable manner. In this project we are implementing, we are going to configure Apache as the load balancer that acts as a single point of access and turns the traffic into 2 webservers.
The pre-requisite for the projects is the following.
1) Fundamental Knowledge of Installing and downloading software
2) Basic Understanding of Linux Commands
3) AWS account log in with EC2 instances
4) 2 Webserver Linux: Red Hat Enterprise Linux
5) Database Server: On Ubuntu 20.04+ MySQL
6) Storage Server: Red Hat Enterprise Linux 9 (NFS Server)
7) Internet connection
IMPLEMENTATION STEPS:
Set up of all EC-2 instances.
i) Ensure you log in with your details to your AWS console via the website and click on the EC2 link to spin up an EC2 instance and make sure they are set up with the operating systems below (Ubuntu Server 20.04 LTS )

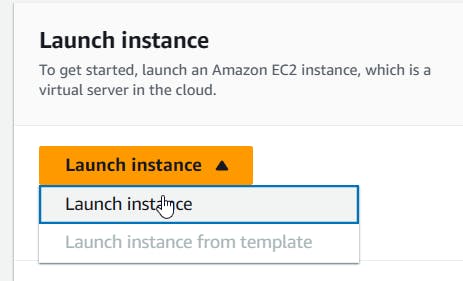
Click on the launch instance dropdown button and select launch instance.
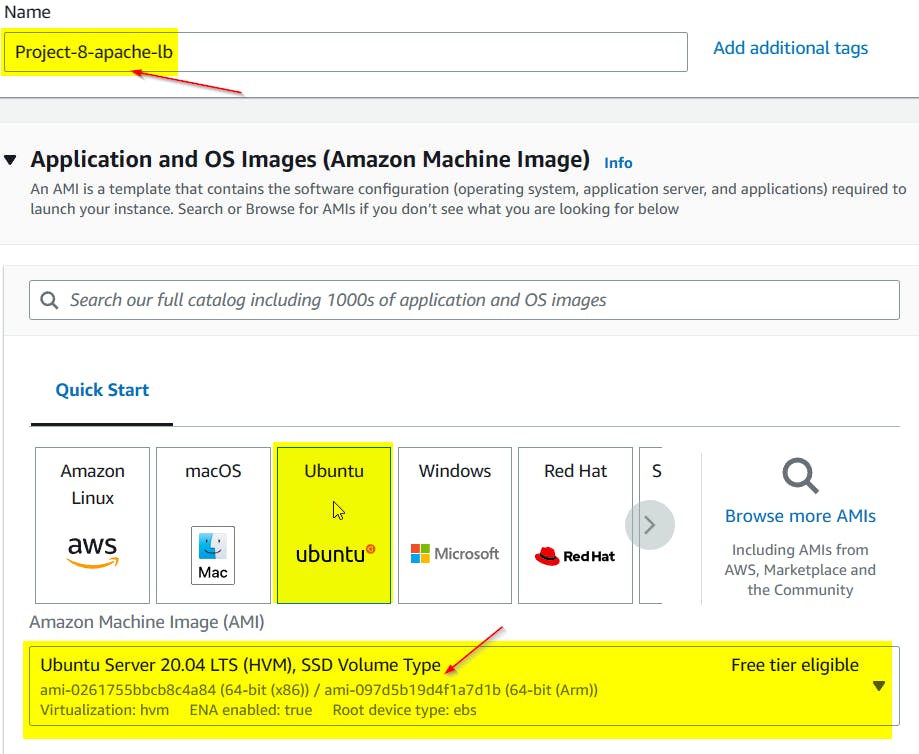
Select Ubuntu from the quick start option and note that Amazon machine image selection varies from user to user. Select\ Ubuntu Server 20.04 LTS (HVM) , SSD Volume type.
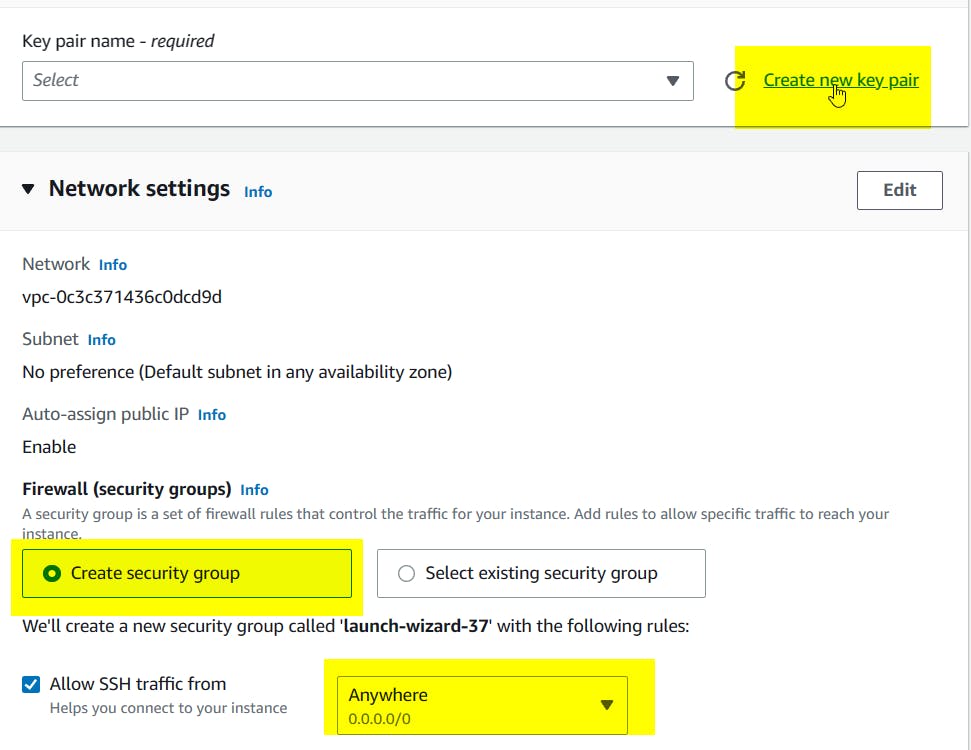
Click on the "Create new key pair" link and ensure the checkbox remains unchanged on the "Create security group.
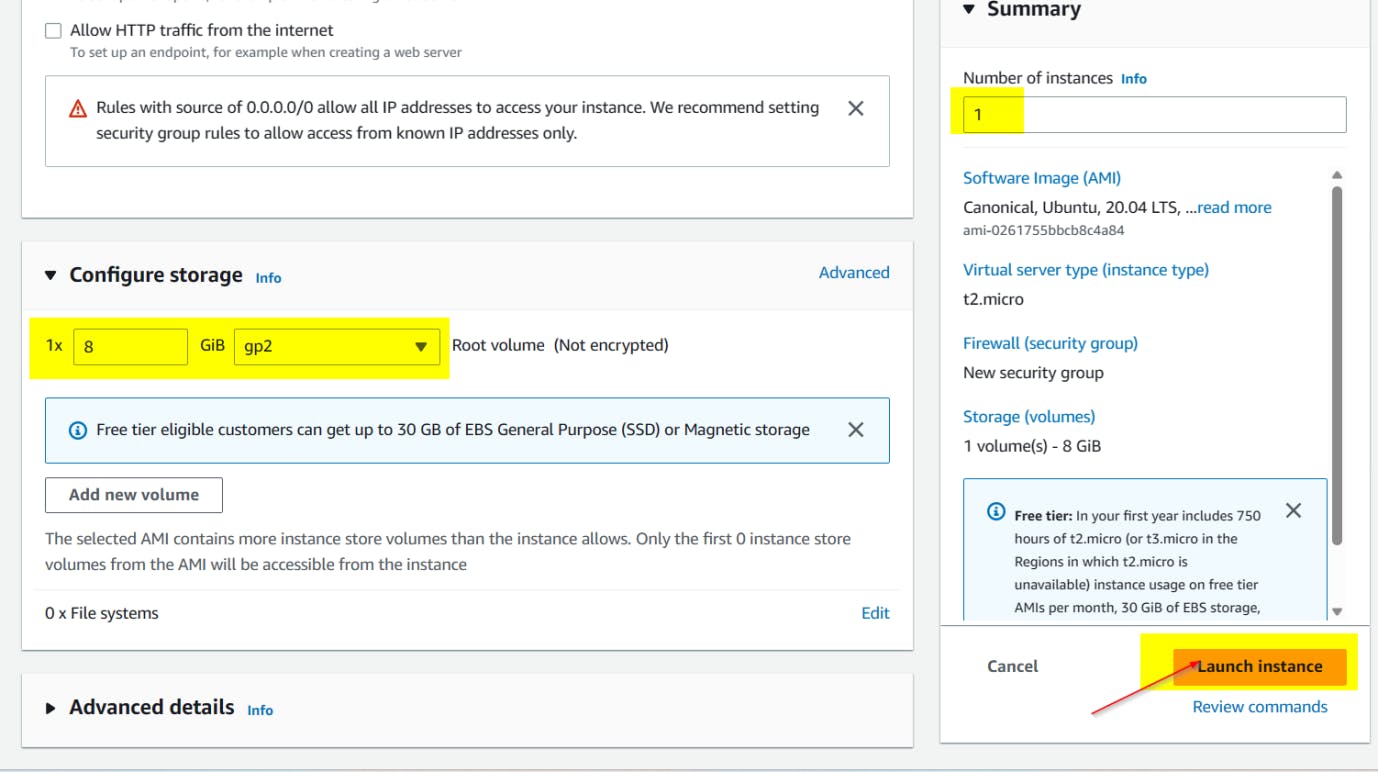
Select 1 Instance and launch it.

Click to connect to SSH
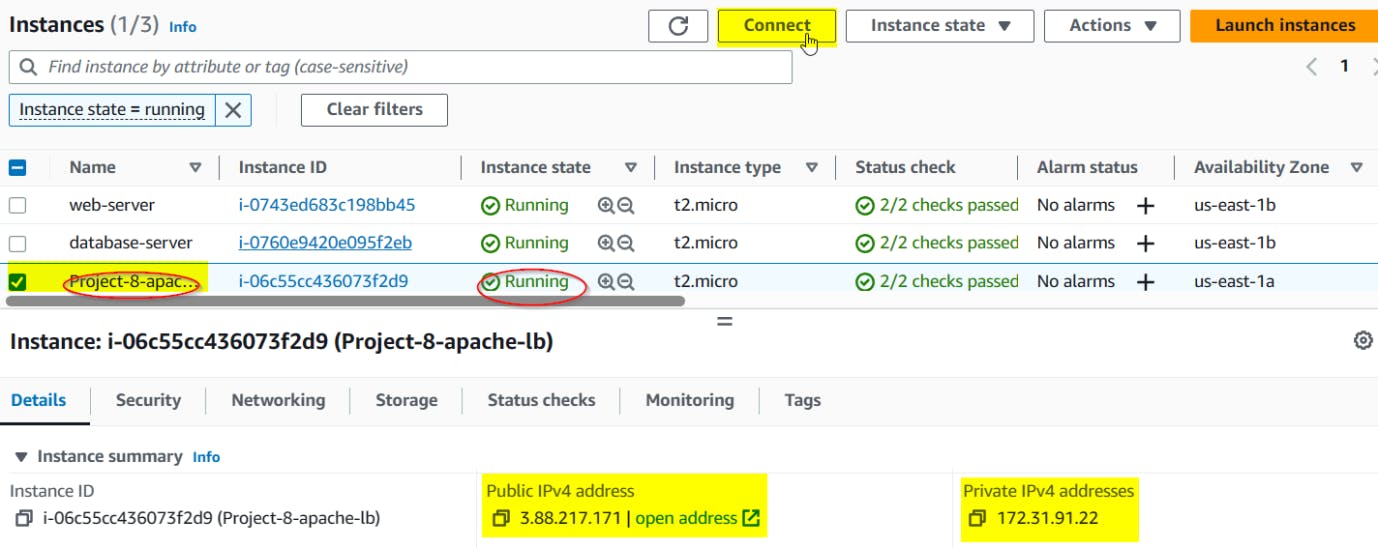
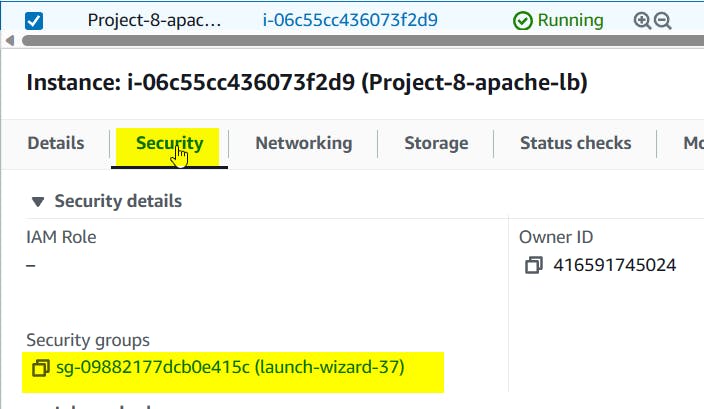
We need to navigate back to the security group on the platform to add a new rule for TCP port 80 which is the default for web browsers. Click on the security button.
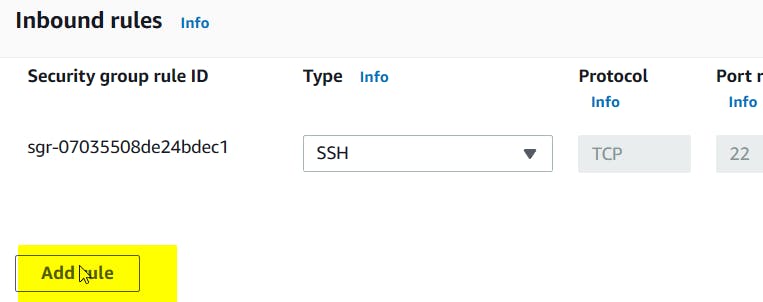
Click on "Edit inbound rules "in order to add a new rule for port 80

Add rule

We are updating the packages in the package manager and installing Apache2 as seen below.


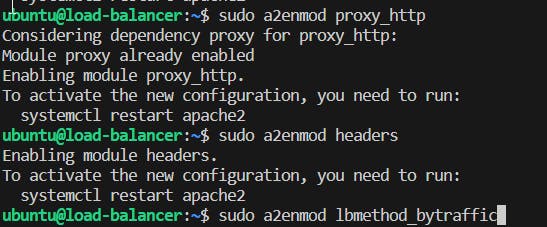
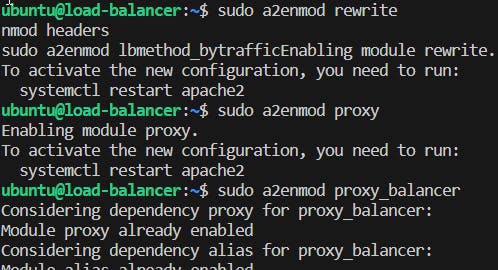
We proceed to enable the following module below
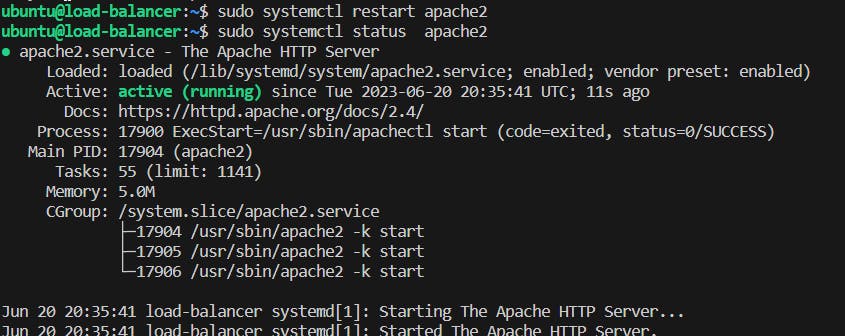
We proceed to restart Apache and check the status to verify it is running and enabled.
We then configure the load balancer by editing its file in such a way that the Apache server maps out the private ip address add to the file and saves the file .


As we know there are different types of load balancing, we would be using the by-traffic methods which would distribute incoming between your servers according to the current traffic load. It can be controlled by load factor parameters with the proportion in which the traffic must be distributed. We are now supposed to launch the website to verify the configuration works as shown below.

Once this is done we then check both servers to make sure they have their separate log directory and by running the command below we can see the access logs that displays on both webserver terminals.

After several refreshing of the browsers, it can be noticed that both servers receive HTTP GET requests and the traffic is distributed evenly because of the load factor we inputted in the 000-default.conf file.

Once all this is done we can decide to configure our local DNS name resolution by creating a file on the load balance server and tagging the webserver's private ip address by an\ arbitrary name. In this case, we named it Web1 and Web2 as shown below


Then proceed to change it in the Load Balancer config file and once this is done we can curl our webservers from the Load Balancer server locally.


Congratulations !!!👍
We have just implemented a Load Balancing Web solution.
If this post was helpful, Would be great if you could click the clap button 👏below to show your support.
Thank you for reading💚😊👏