Deployment of a simple NodeJS application using Amazon Elastic Beanstalk


Developers often have problems in managing infrastructures, deploying codes, configuring databases, auto-scaling concerns and load balancing. There was a need to find a solution since most web applications have the same architecture (ALB +ASG) and all they would prefer to do is focus on code developments to run even though different programming languages are being used.
Amazon Elastic Beanstalk provides a solution helping developers to deploy applications on AWS using one single interface to combine all components like EC2 instances, Autoscaling group, ELB, RDS and many more. This managed service handles capacity provisioning auto-scaling, health monitoring, instance configuration, load balancing and many more. This makes the job easy for developers who only need to write their application code and have a tool that can help to safely deploy in an environment. There’s is full control and it is free and the only cost would be the underlying instances being created.
Component of Elastic Beanstalk:
a) Application version
b) Application
c) Environment:
i)Worker Tier and Web Tier. ii)Multiple environments
d) Support different programming languages and can customise other languages
CREATION OF A NODEJS APPLICATION
IMPLEMENTATION STEPS:
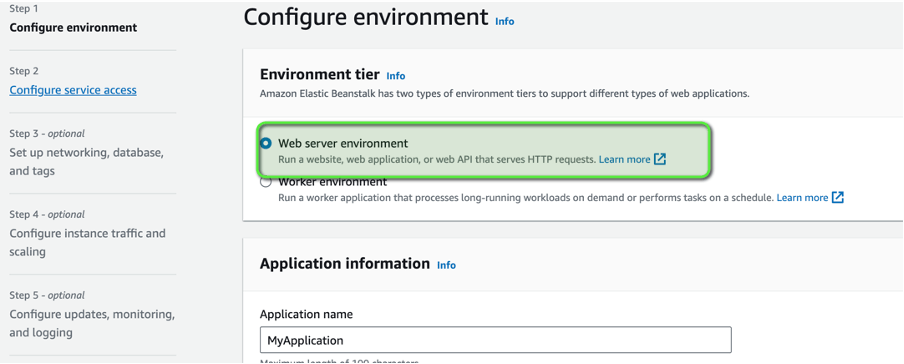
Navigate to the Amazon Elastic Beanstalk page and click to create an application. Select the web server environment and enter the application and environment name
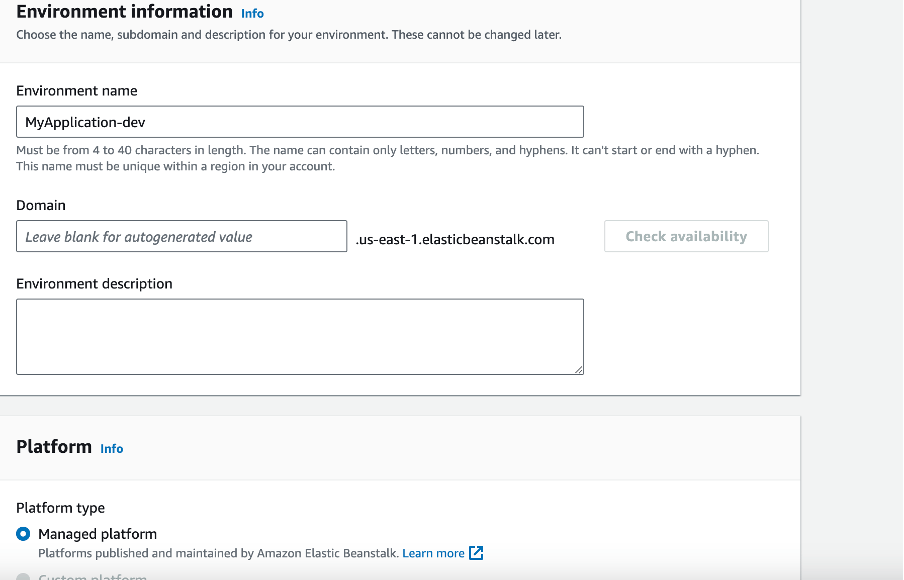
Please note a domain name will be generated for us to use to access the server. Proceed to the platform section to select NodeJS with the latest recommended version

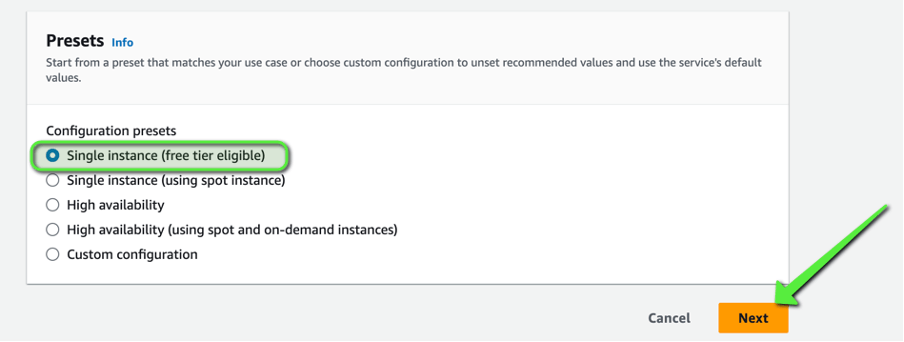
Select a single instance with the free tier and click the “Next” button as shown below.
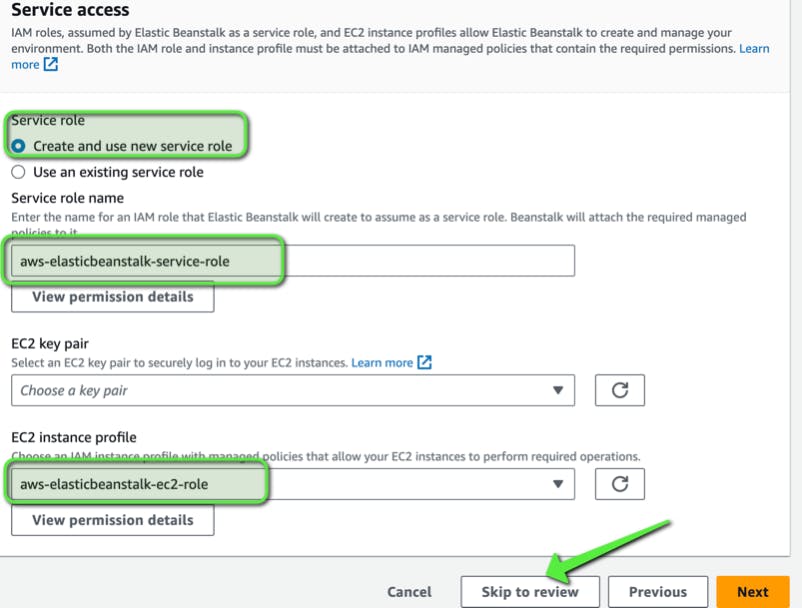
Create a new service role and a ec2 instance profile then click the “skip to review ” button

Submit and create the Application.
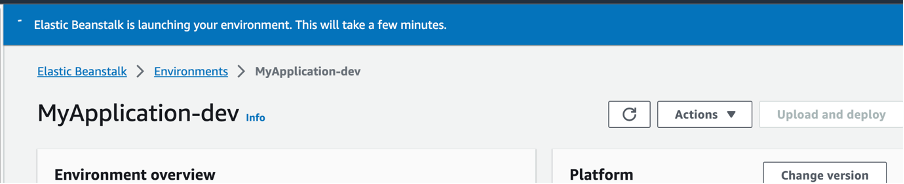
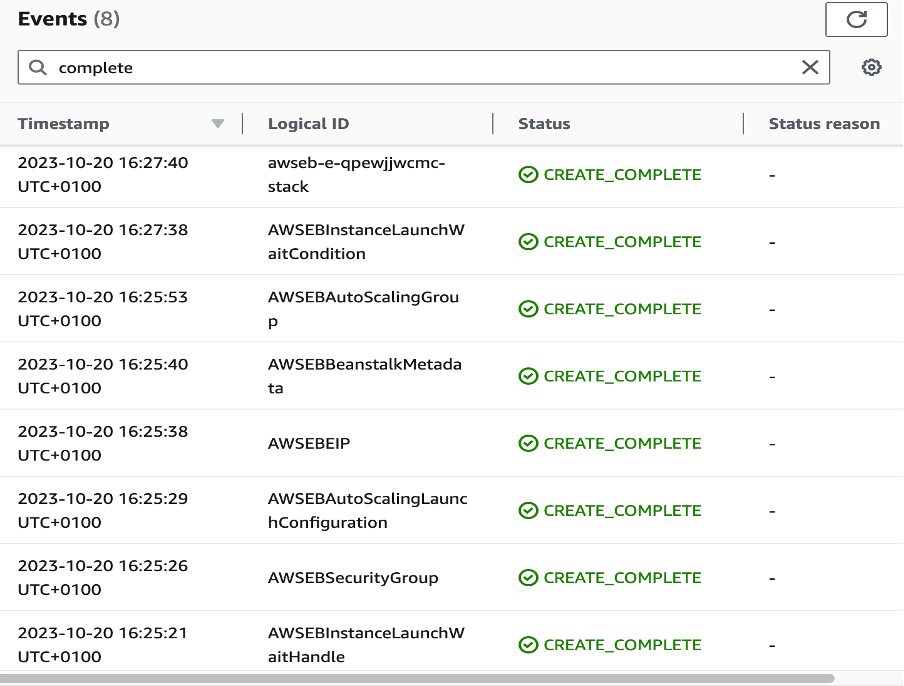
While the environment is being created, we would navigate to another AWS service called CloudFormation. The service is responsible for creating all the infrastructures behind the scenes and we can see the events currently creating the resources

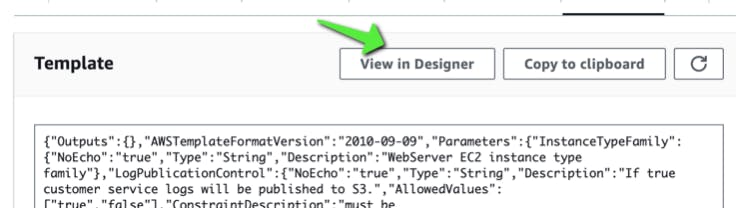
Navigate to the template section to view the diagram of the infrastructures in progress.
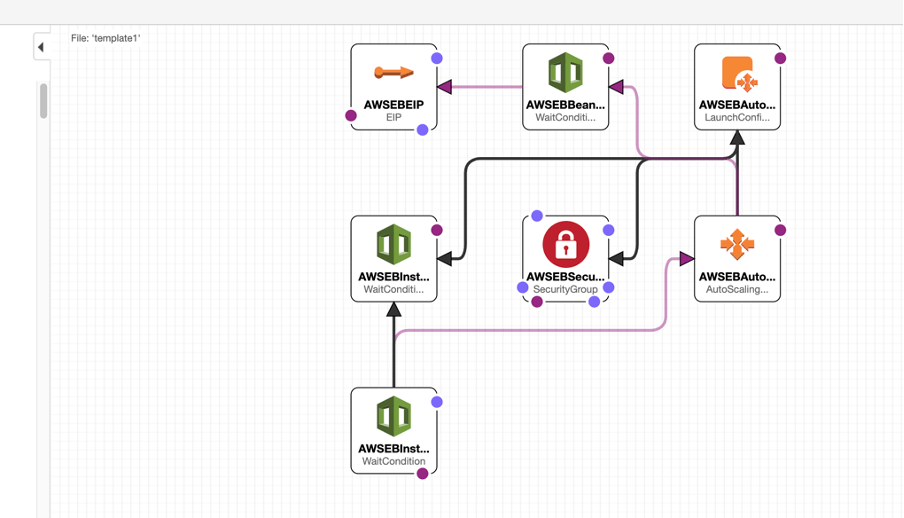
Finally, our environment is fully set up and can view the resources. ec2 instance, elastic IP, security groups, autoscaling group e.t.c
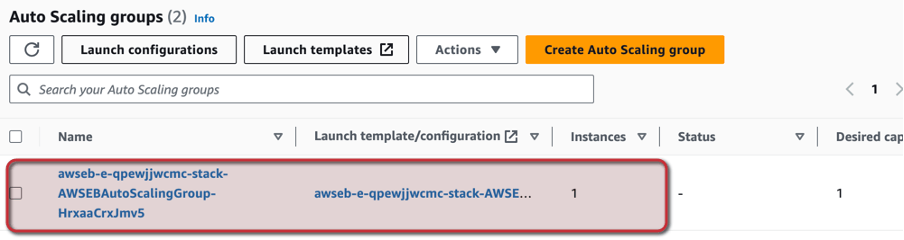
Navigating to view the EC2 instance, Elastic IP, Auto Scaling Group created.


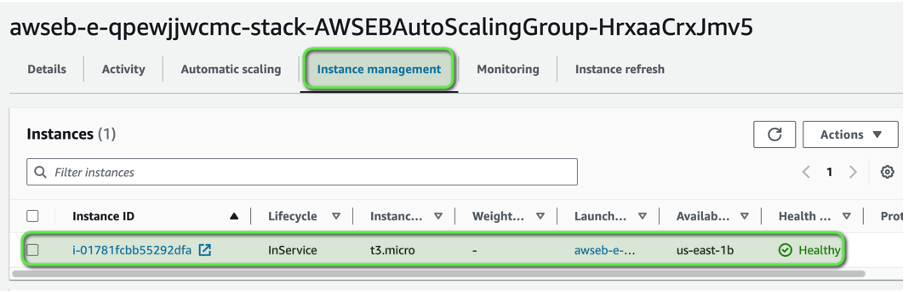
Check the "instance management" of the Autoscaling Group, we can see its health check
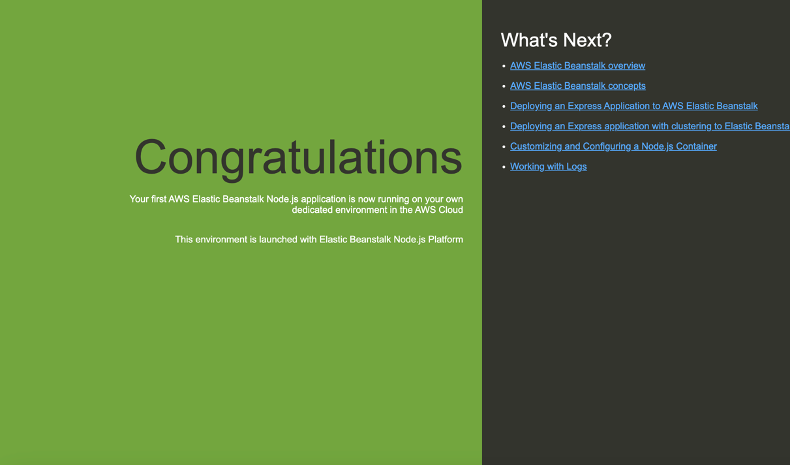
Launch the domain of the application that was created.
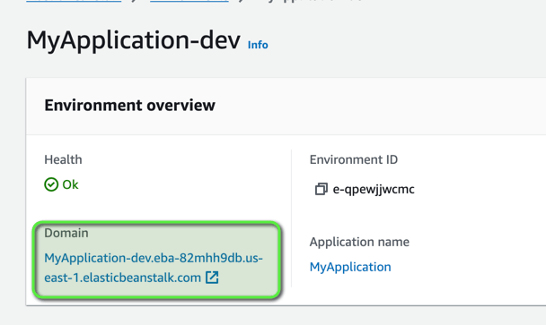
Simple nodeJS application deployed successfully
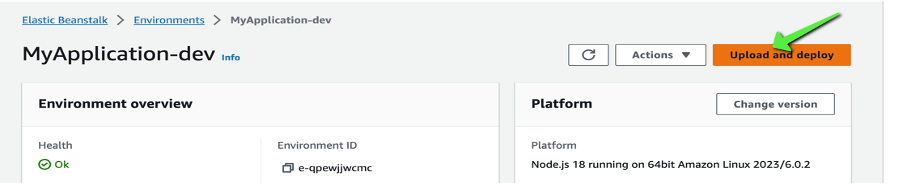
Please note: If we want to upload a new version after some changes are made. It would be deployed automatically.
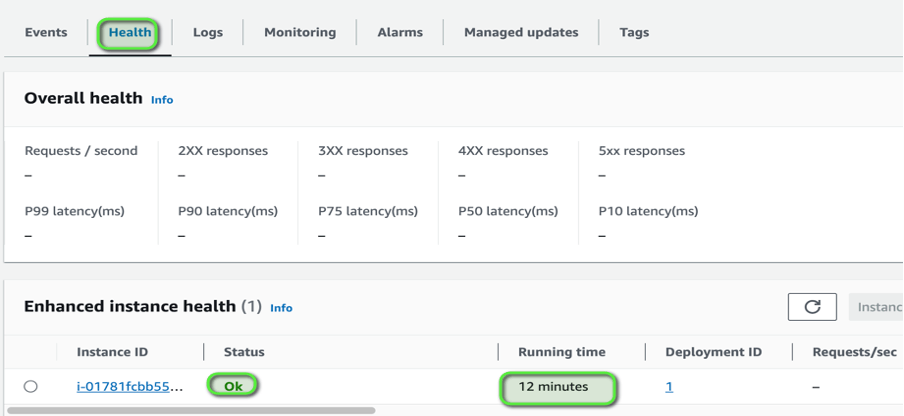
View the instance health checks as well as monitor your application
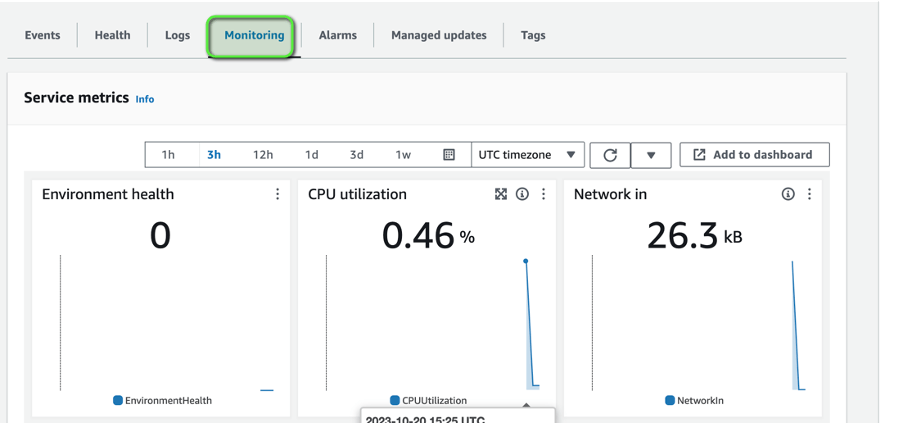
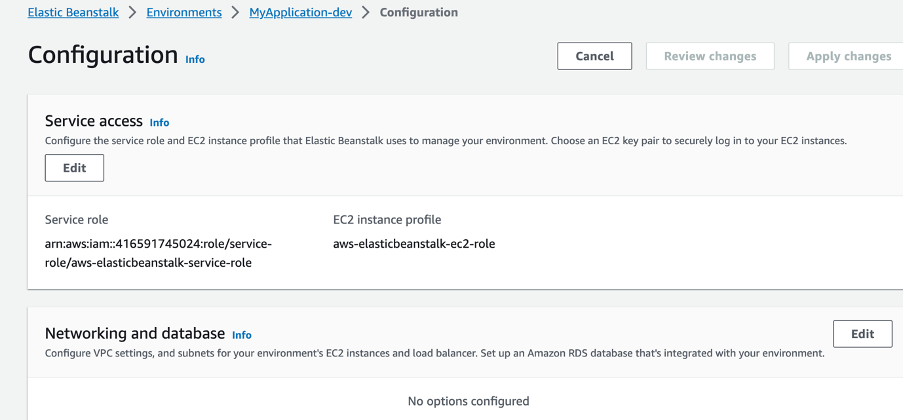
We can manage configurations as shown below and create more environments like staging, SIT, UAT and prod environments as shown below

Congratulations we just deployed the simple nodeJS application using Amazon Elastic Beanstalk 💚👏✌️