Deployment and Securing a web form and mapping to DNS with AWS resources .


Web pages or forms can be deployed into several cloud environments with the help of different resources that can help achieve this task. In this section, we will be utilizing AWS resources to achieve it.
AWS resources to be used are the following.
a) Amazon S3 Bucket: It is called Simple Storage Service. It is an object storage service that offers scalability, availability, security and performance for single or multiple files put together in a zip file. They are managed for us and can store and protect any amount of data for virtually any use case.
b) IAM ROLE PERMISSION: is an identity you can create that has specific permissions with credentials that are valid for short durations. Roles can be assumed by entities that you trust.
c) [endif]EC2 INSTANCE is the server we are using for this project and it is the APACHE SERVER
IMPLEMENTATION STEPS
1) The first step would be to create the bucket and give it a name
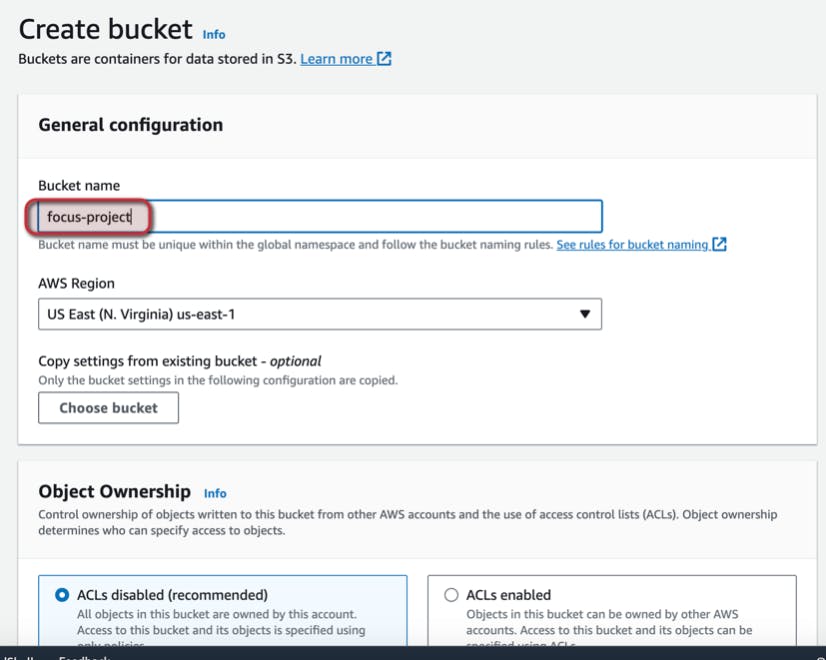
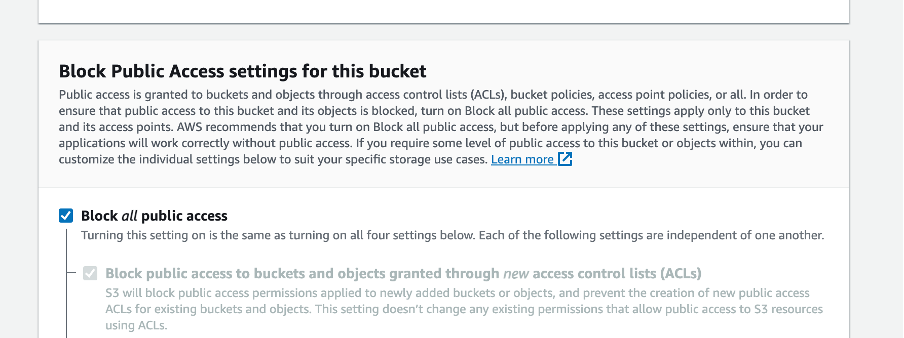
All public access settings are blocked and we are using the default setting
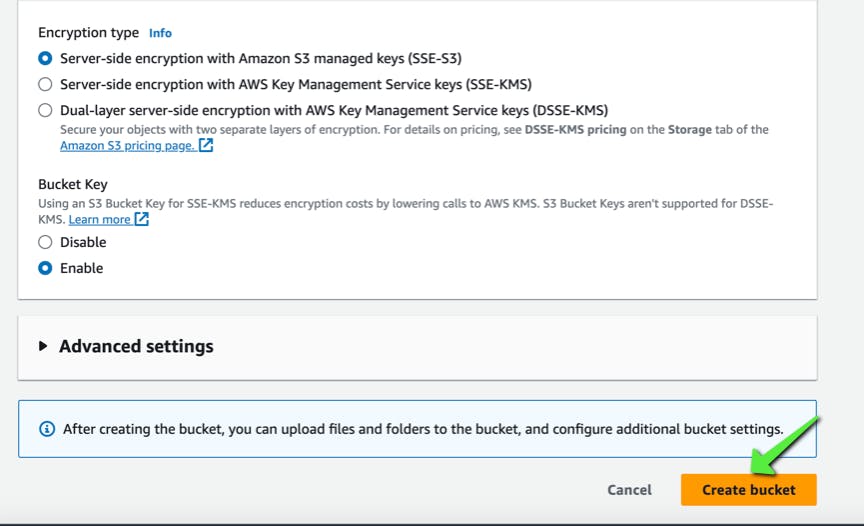
We create the bucket and we can see it is successful

2) Upload the html file source code
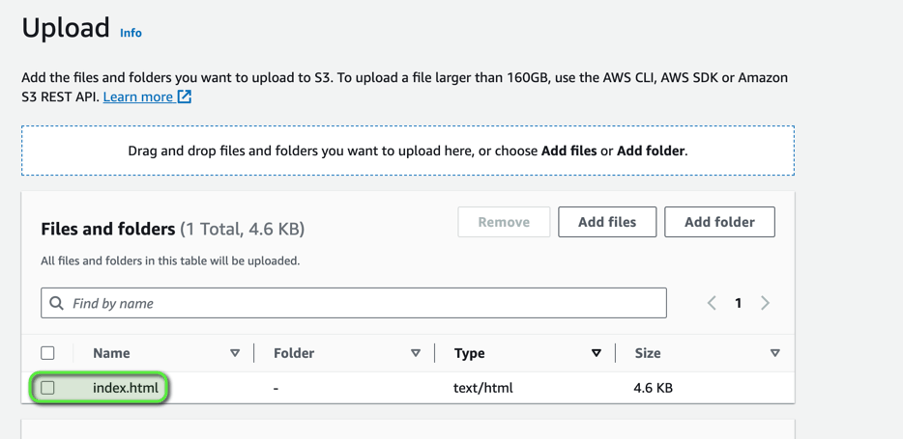


The source code is ready to be deployed into the ec2 instance. To carry out this deployment into our instance we would need an IAM ROLE permission configured to give us full access to the s3 bucket.
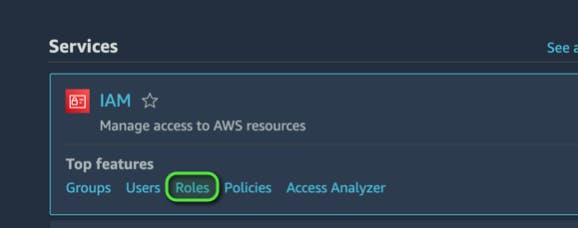
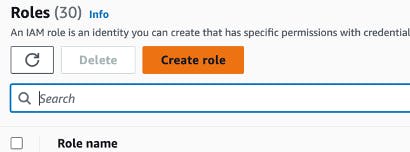
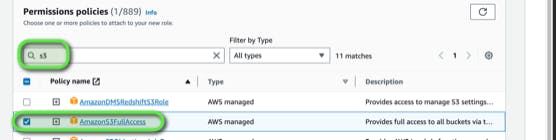
3) Navigate to the IAM ROLE section and create an IAM role

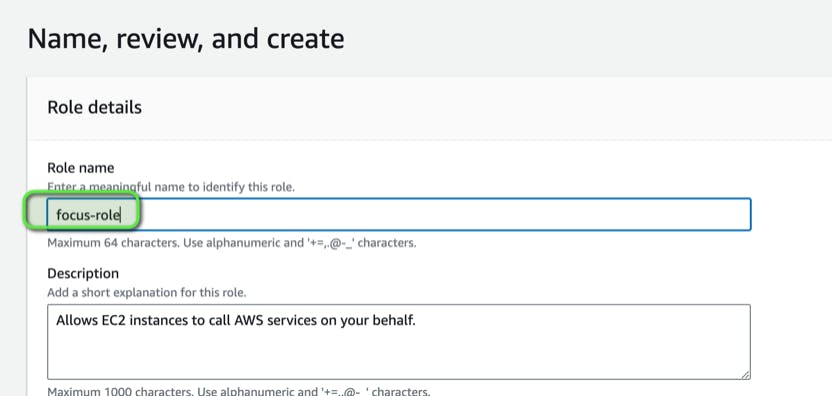
Click next to proceed and give it a role name and set the permission policies

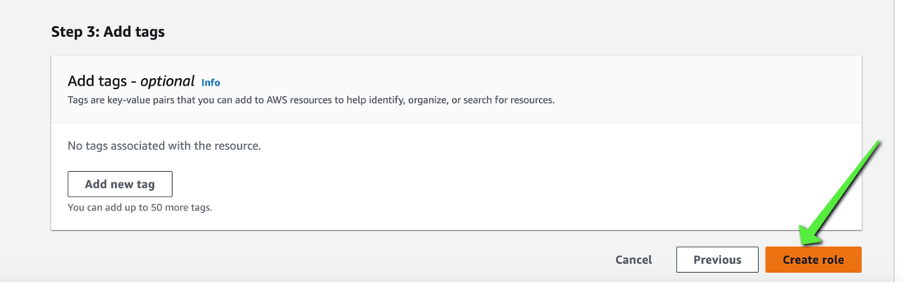
Proceed to the next page

Now that we have the IAM role name, we would use it when creating the ec2.
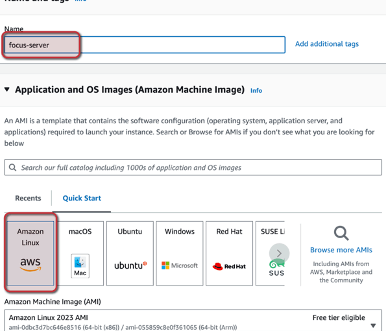
4)Create an instance ,allow http and a security group .

Proceed to the Advanced settings.

5)We are creating an EC2 instance.
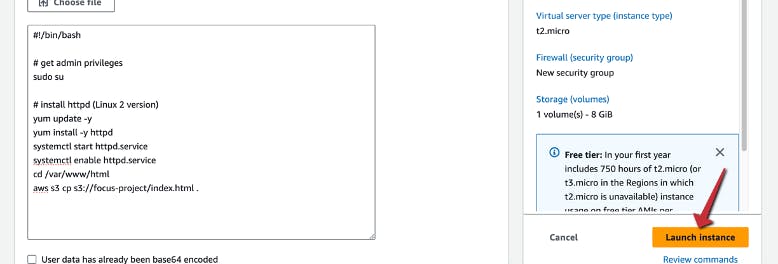
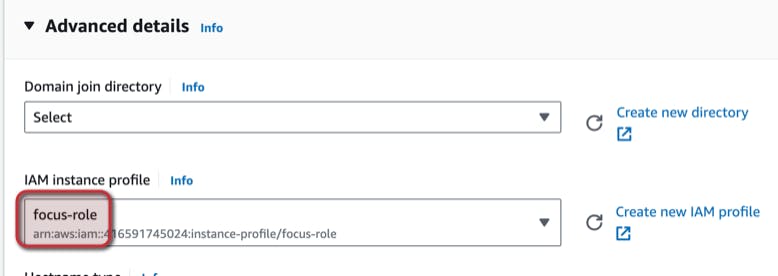
6) Choose the IAM role we created and input the user data and launch the instance.
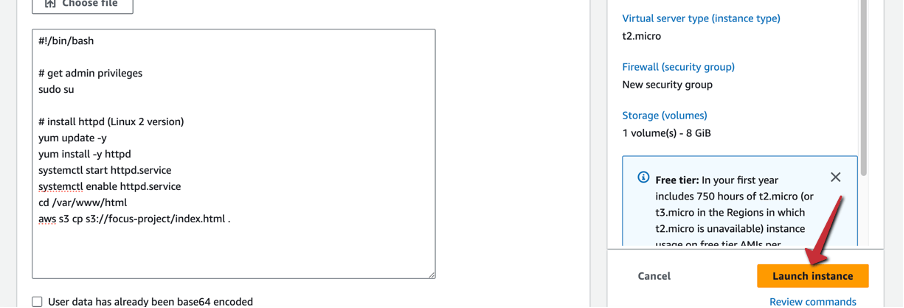

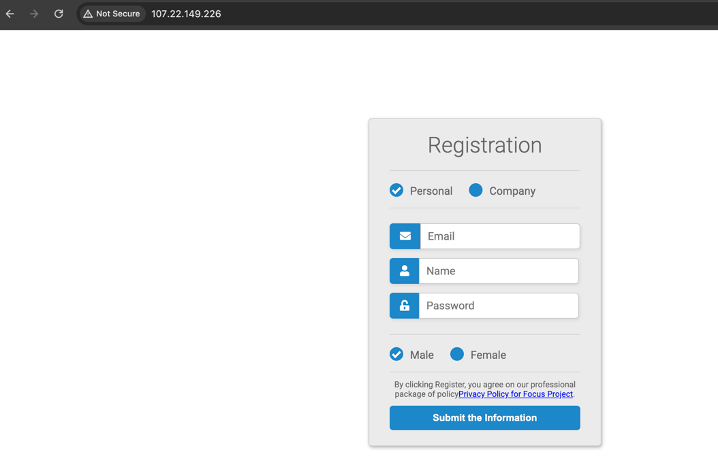
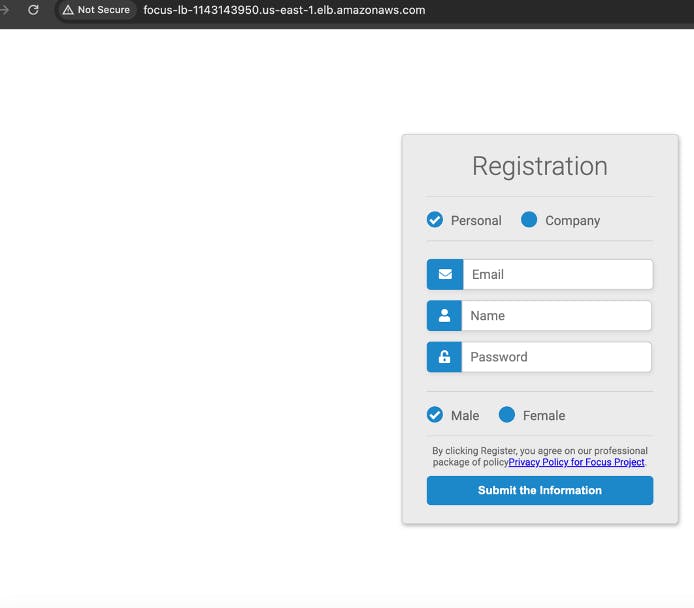
7) Launch the IP address on browser.
We have created the following resources.
8) Target Group was created and the ec2 instance was attached to it .
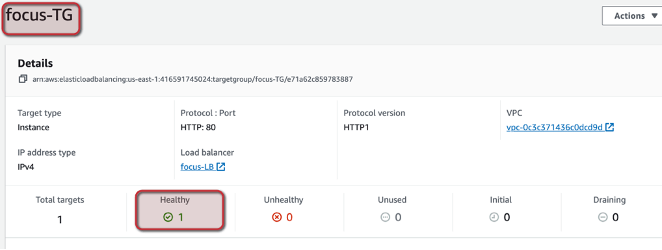
The ec2 instance looks healthy.

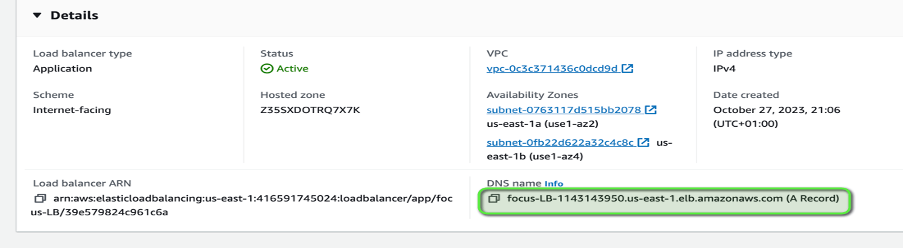
9) Load balancer was created and clicking on the Load Balancer we can retrieve the DNS name and launch it on the browser

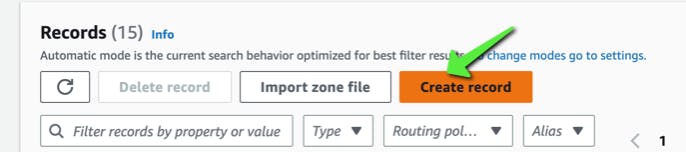
10) Navigating to the route53 DNS, we would create a record and select the record type A as well as select an “Alias” to ensure it connects to the Application Load Balancer.
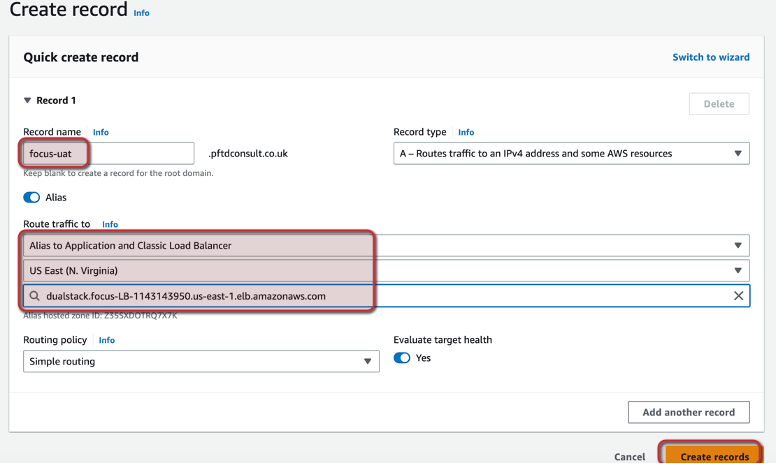
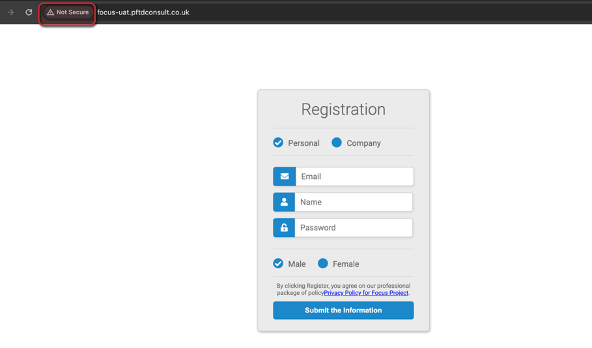
Created successfully. We would check the full domain on the browser and notice it’s not secured as shown below.
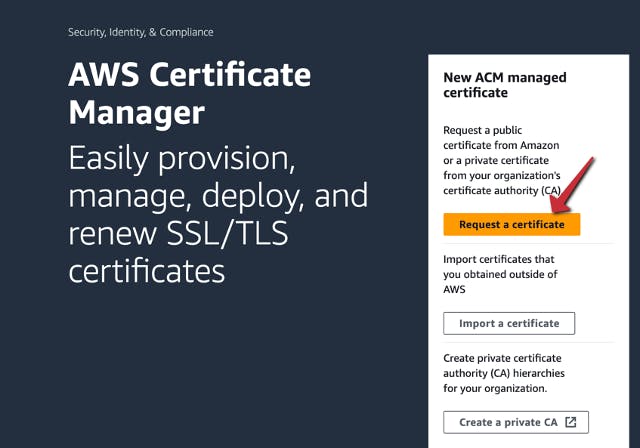
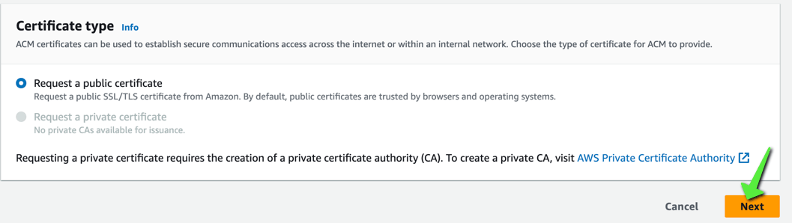
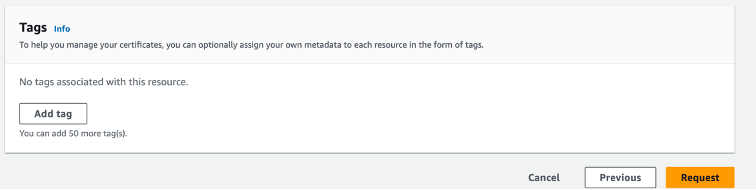
11) To make it secure, we have to make a request of the certificate with AWS Certificate Manager as shown below.
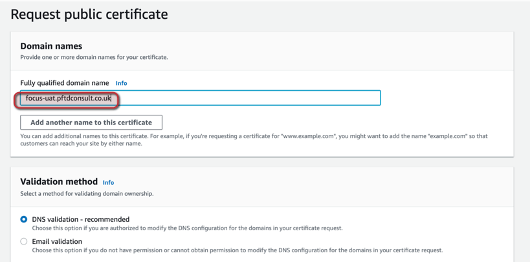
12) While it is validated, we can create the record that connects it to route53 hosted zone.

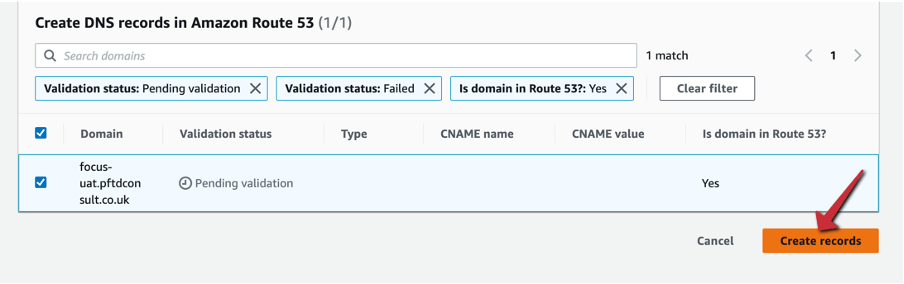
DNS record successfully created, and certificate issued.


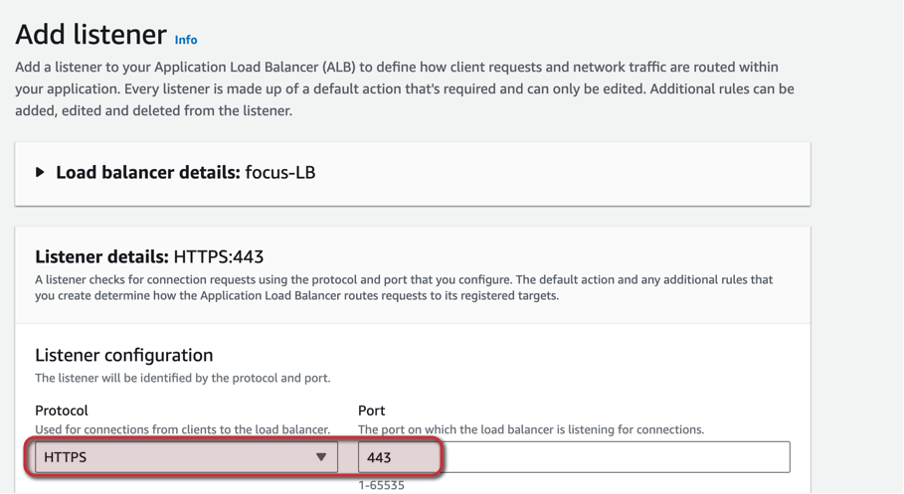
13) [endif]Our load balancer needs a listener that listens at port 443 in order for it to be secured.
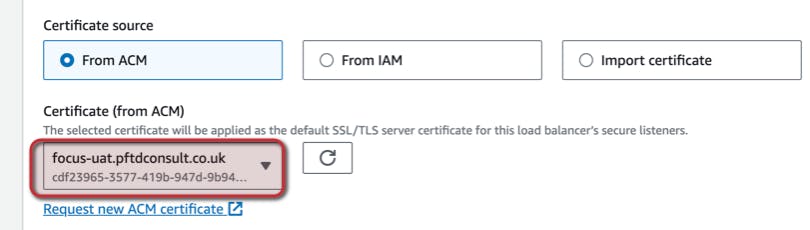
Select the Target group and the domain certificate issued.

14) Once listener is added, we can launch our domain on the browser using the https header. We would get a full secured browser,

And can verify by viewing the certificate viewer.
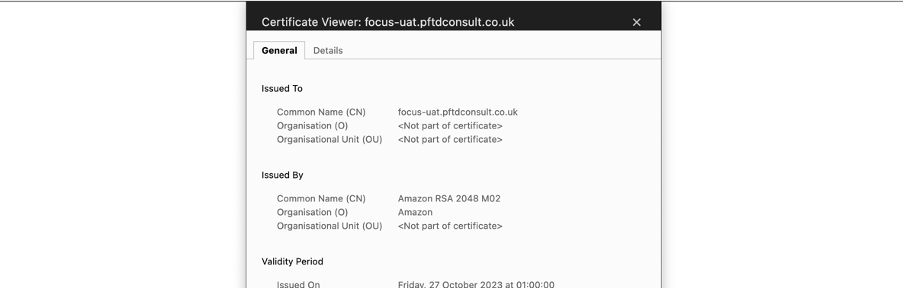
Our webform was successfully deployed on the instance server and fully secured by the https protocol with the certificate issued.
Congratulations!!!! 🥂 😃💚👏💚