Continuous Integration for a Tooling Website for beginners


A DevOps team utilizes various tooling solutions in order to help the team carry out their day-to-day activities in managing, developing, testing, deploying and monitoring different projects. This project also majors on how Jenkins contributes to the DevOps process by continually integrating developer codes promptly and shows how it connects with the webserver to deliver deployable software products.
In this project, we would be implementing a DevOps solution that consists of the following
Prerequisites for the projects are the following.
1) Fundamental Knowledge of Installing and downloading software
2) Basic Understanding of Linux Commands
3) AWS account login with EC2 instances
4) Webserver Linux: Ubuntu 20.4 LTS
5) NFS Server: Red Hat Enterprise Linux 9
6) Code Repository: GitHub
7) Internet connection
IMPLEMENTATION STEPS:
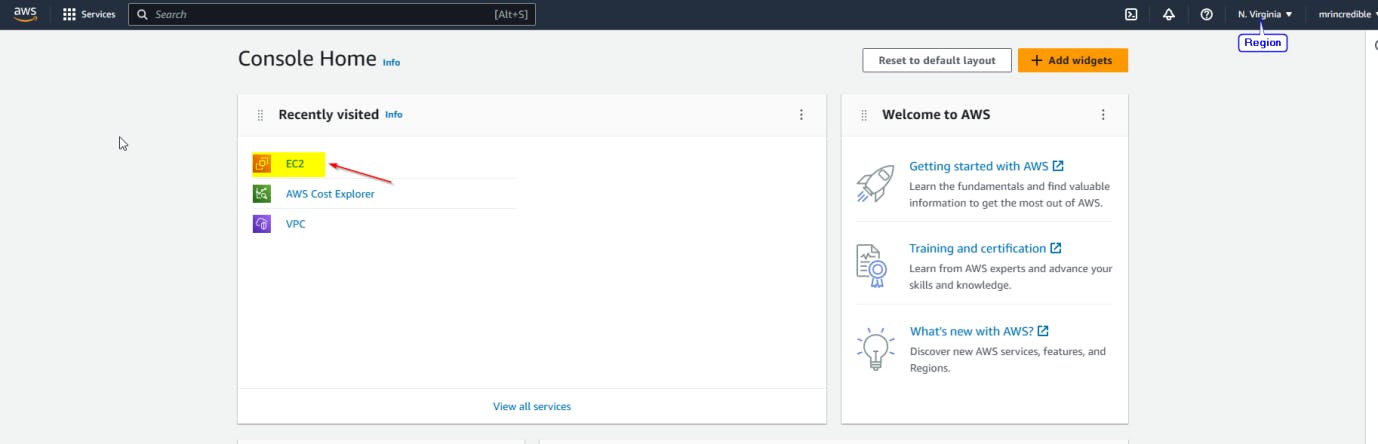
i) Ensure you log in with your details to your AWS console via the aws.amazon.com
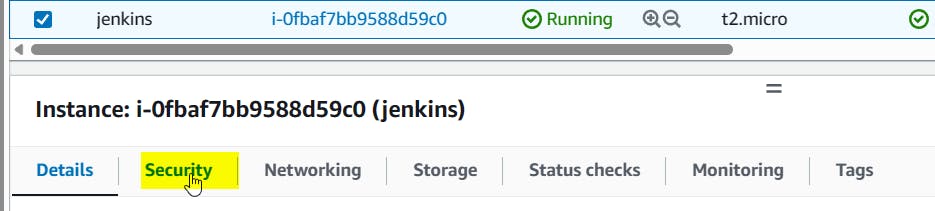
ii) Click on the EC2 link to create instances.
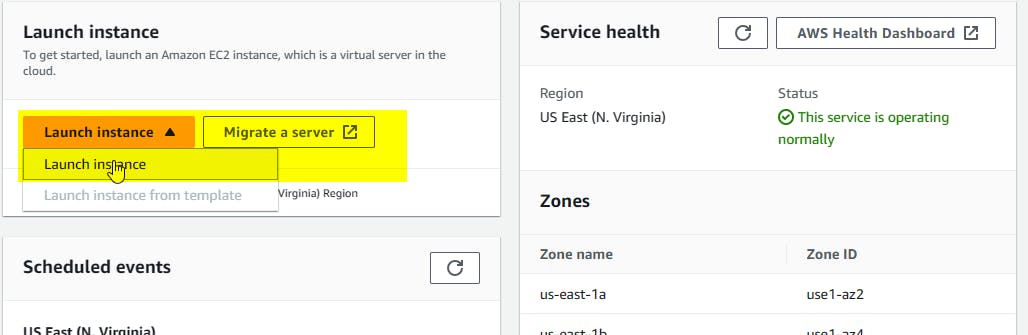
iii) Click on the launch instance dropdown button and select launch
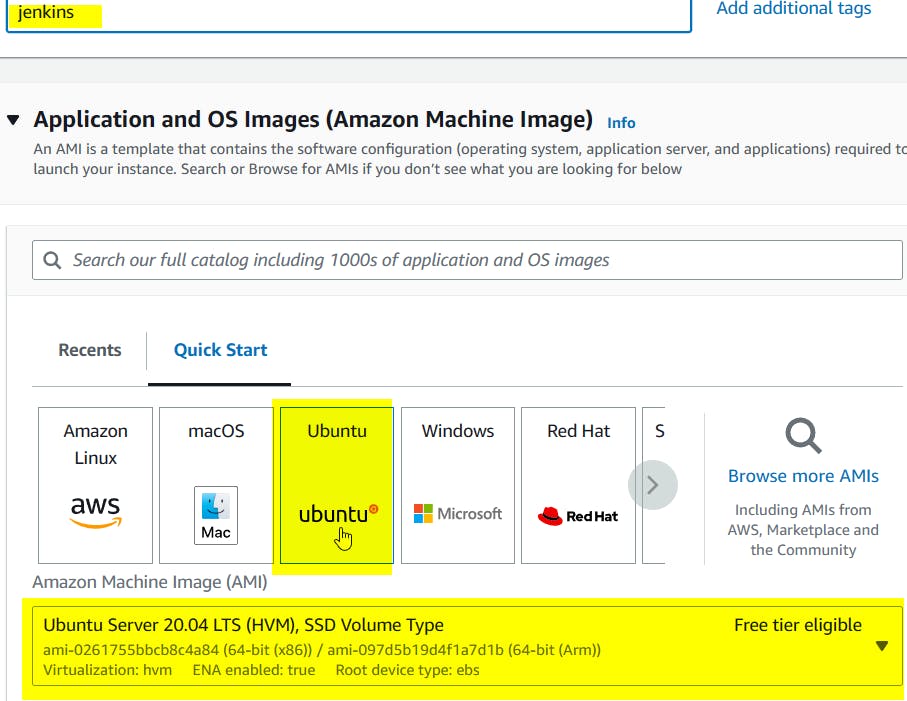
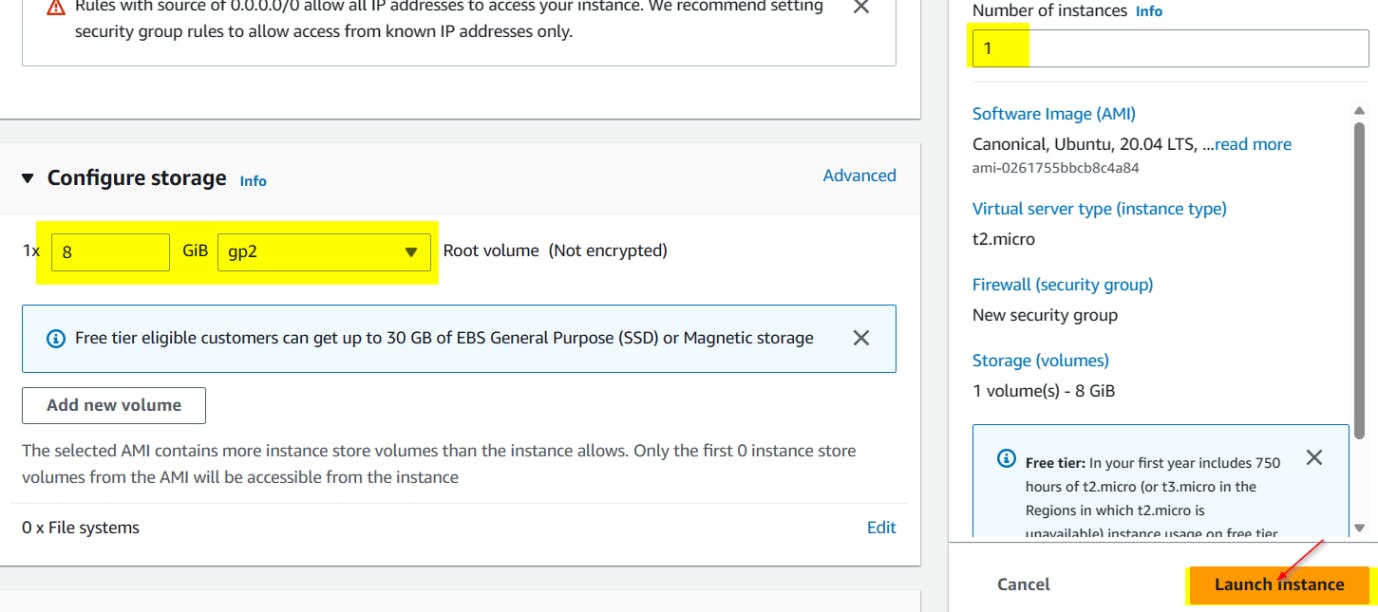
Select Ubuntu from the quick start option and note that amazon machine image selection varies from user to user .Select Ubuntu 20.4 LTS SSD Volume type .
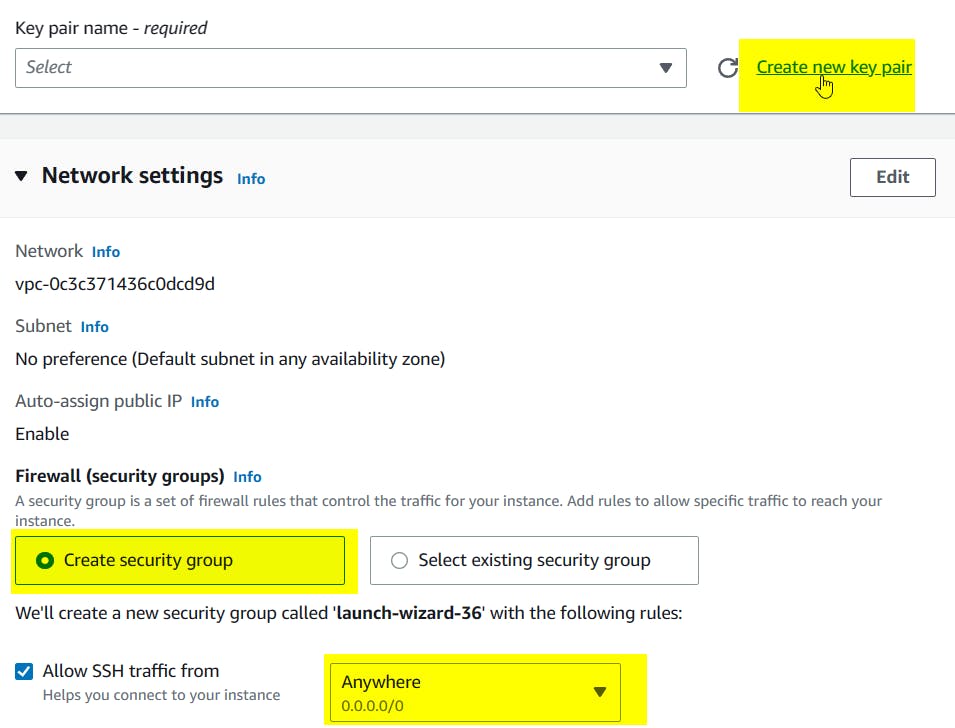
Click on the “Create new key pair” link and ensure the Checkbox remains unchanged on the “Create security group”.
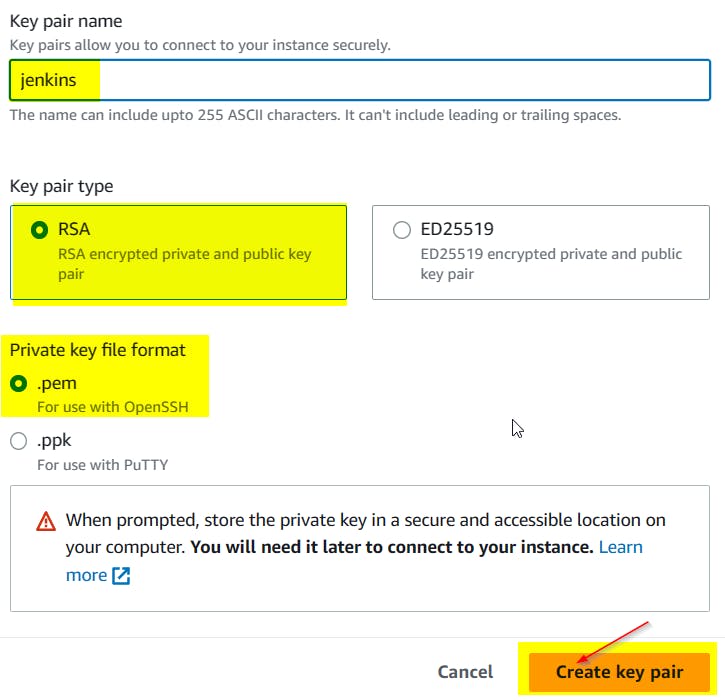
Once new key pair is created we select 1 and launch an instance
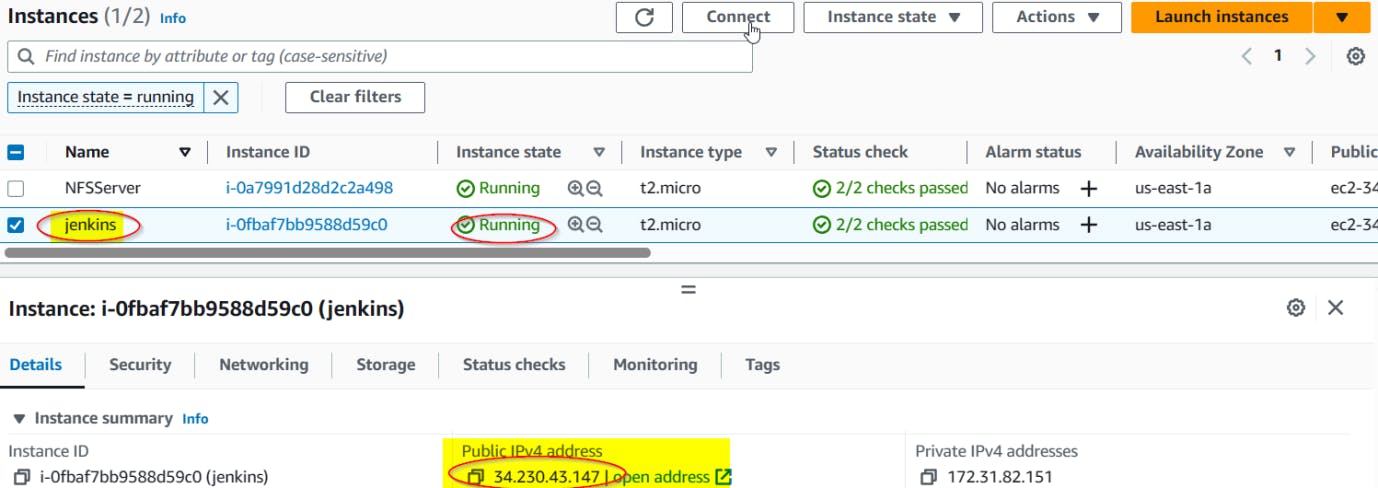
Click to connect to ssh
JENKINS SERVER CONFIGURATION
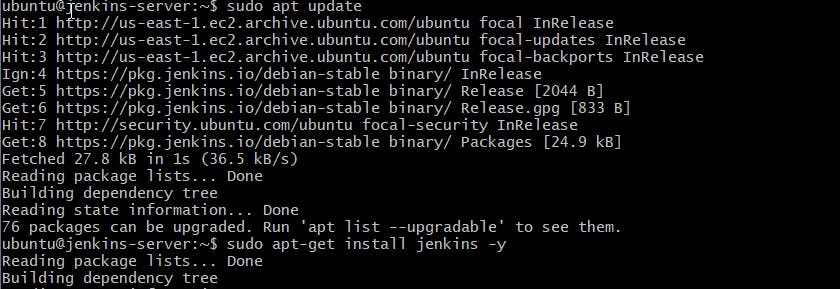
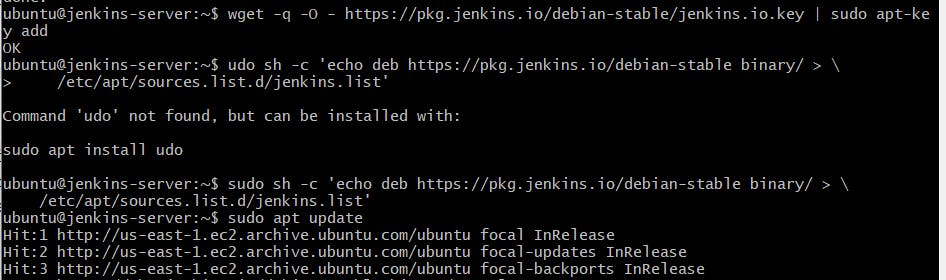
To configure Jenkins, we can navigate to the documentation on their website and look at it to understand the platform of download that suits you.In this case, we are using the Ubuntu Debian. Open git bash on Visual Studio code or whichever console is convenient to use. We are using git bash here with Visual Studio Code We rename the ip address as webserver as seen below perform an update check and install the default headless jdk as shown below.


We then proceed to install Jenkins and to ensure easy installation add the key and perform the actions as seen below.
Once installed, we can confirm if Jenkins was successfully installed.

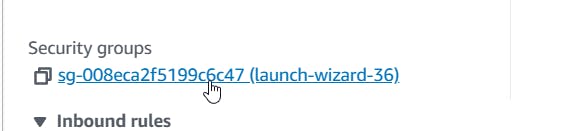
Please note that Jenkins runs on port 8080. Hence we would need to add the security group in the Jenkins server to ensure it successfully launched on the web page
Edit the inbound rules and add the rule of port :8080 for Jenkins

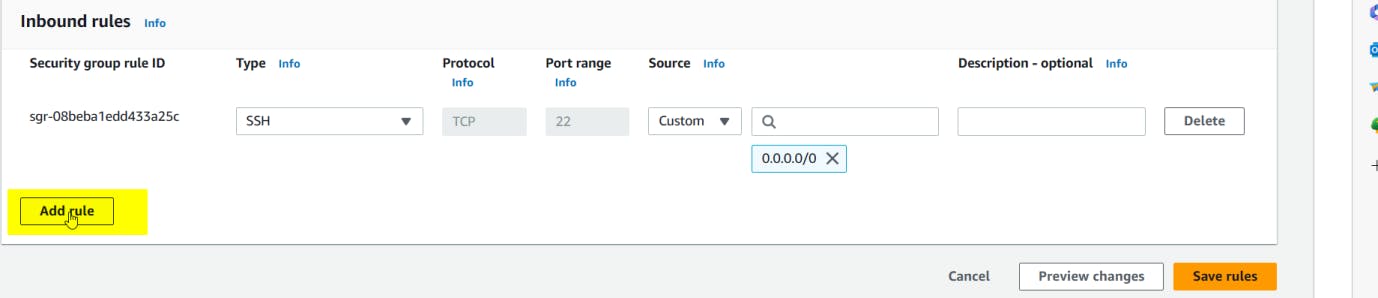
Save the rules


Proceed to launch the public ip address and your Jenkins would be displayed.
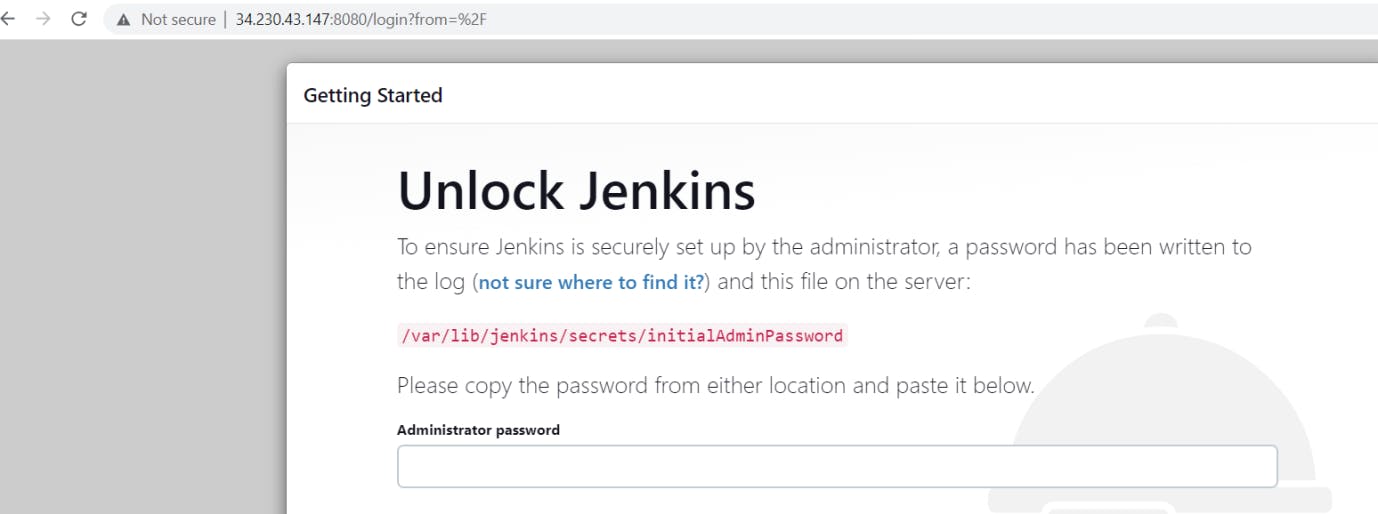
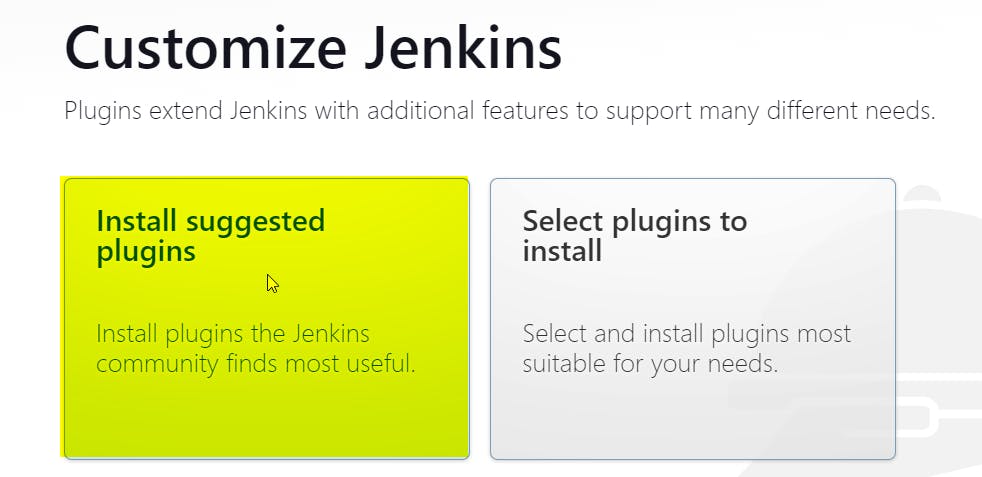
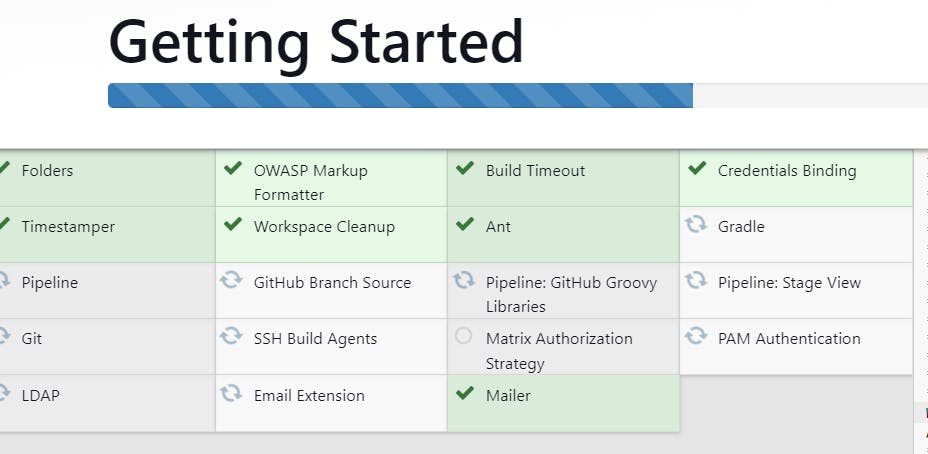
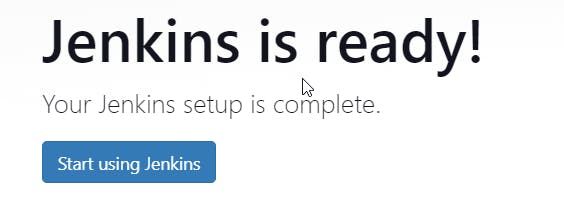
You can retrieve your admin password in your terminal and paste here to access as the admin. Once done you should see this page and click on Installed suggested plugins and have all suggested plugins installed as shown below.
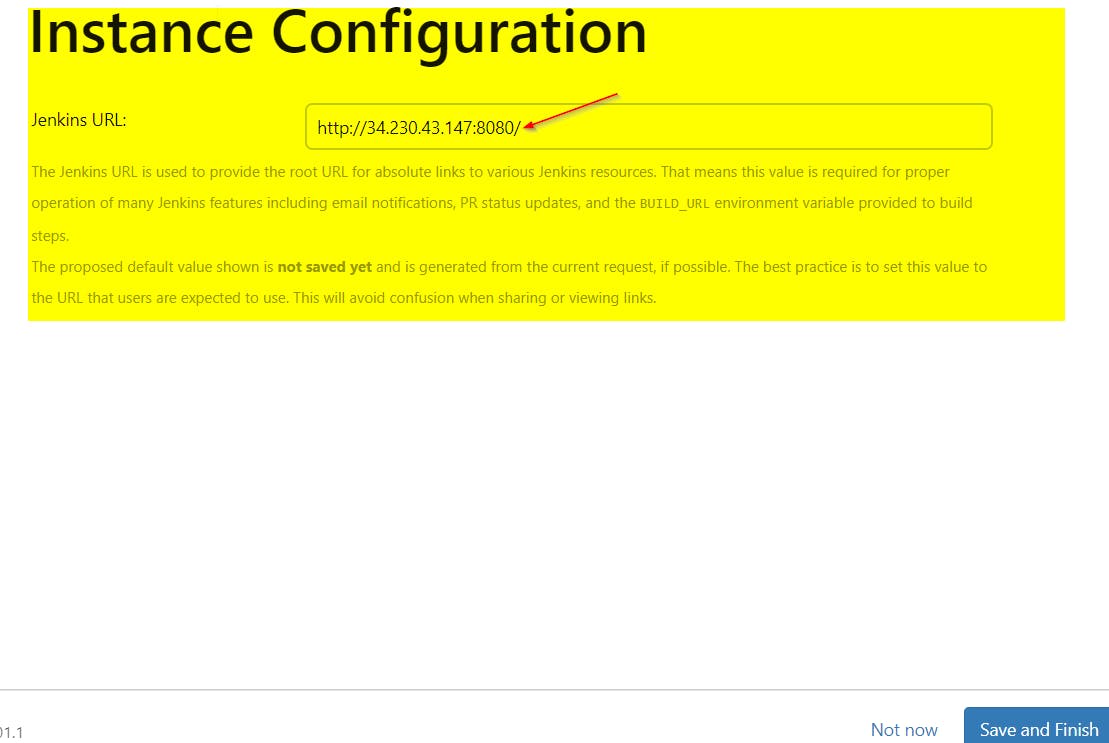
Once you fill in your details and have it successful, you get this page and Jenkins is ready to get used.
JENKINS CONFIGURATION WITH GITHUB USING WEBHOOKS
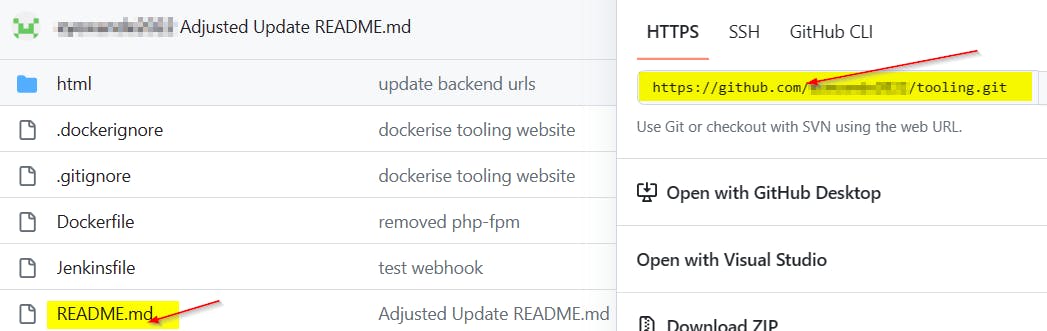
Next steps would be to configure Jenkins to retrieve source codes from GitHub using Webhooks. Firstly we create our first job on Jenkins and connect to a repository chosen to perform this actions .We are using a README.md file to perform this as well as the URL copied
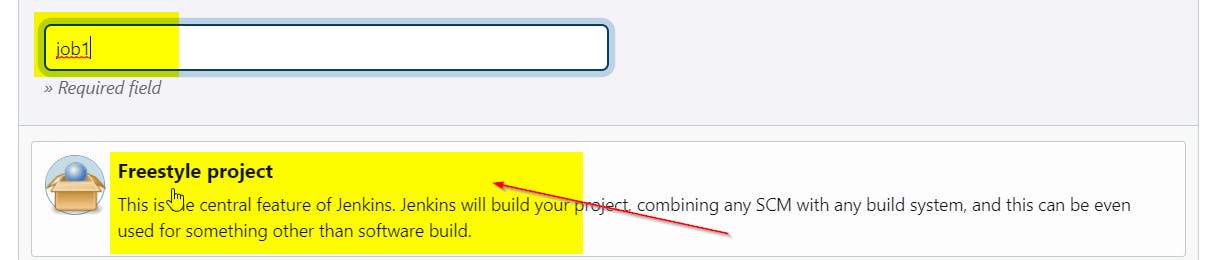
Creating a job on Jenkins. You create a name and select “free project” and click ok


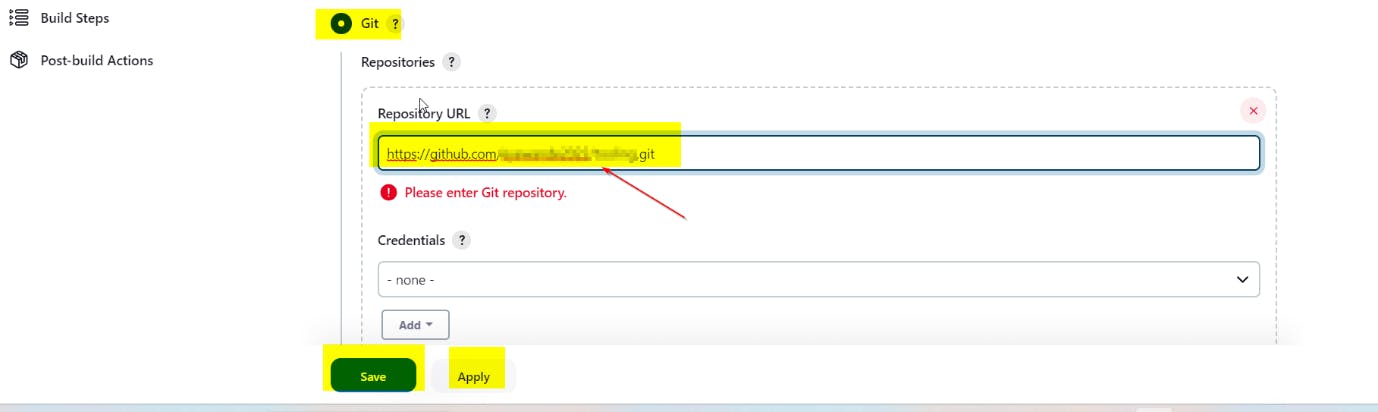
You describe the job. Navigate to Source code management and click git and fill in the repository URL . Click on “Apply” and “Save”
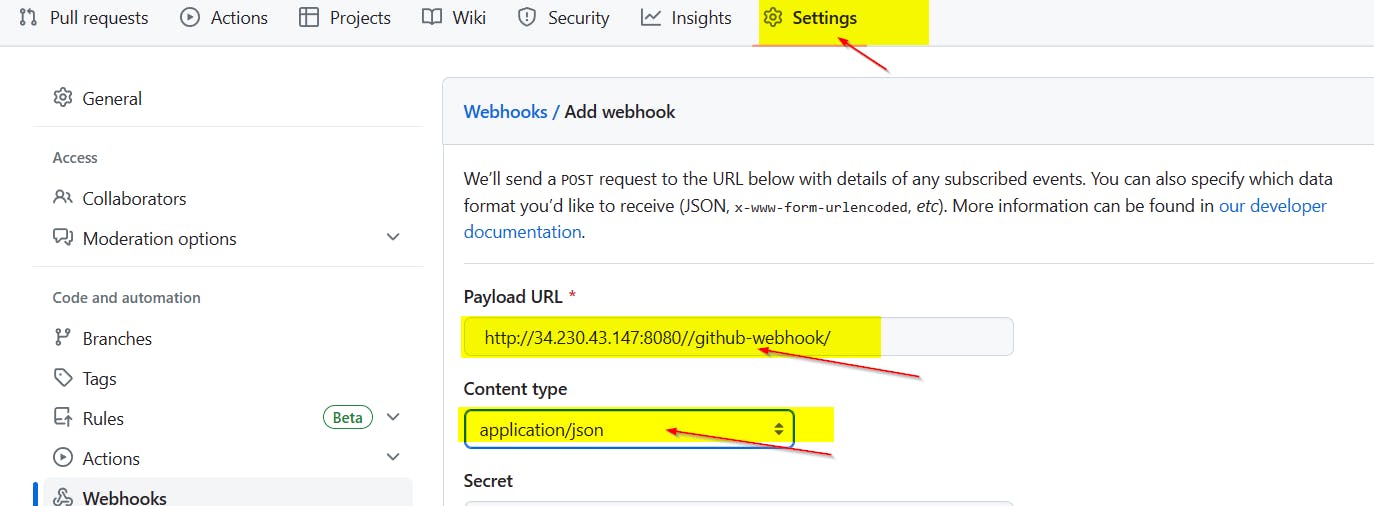
Navigate to your GitHub account and click on settings and add your webhook as shown below .
Once successfully added. We trigger the “Build Now” button and confirm if the build was successful


Navigate through the status and console output which gives you the details of the job and also states if it was a success as shown below

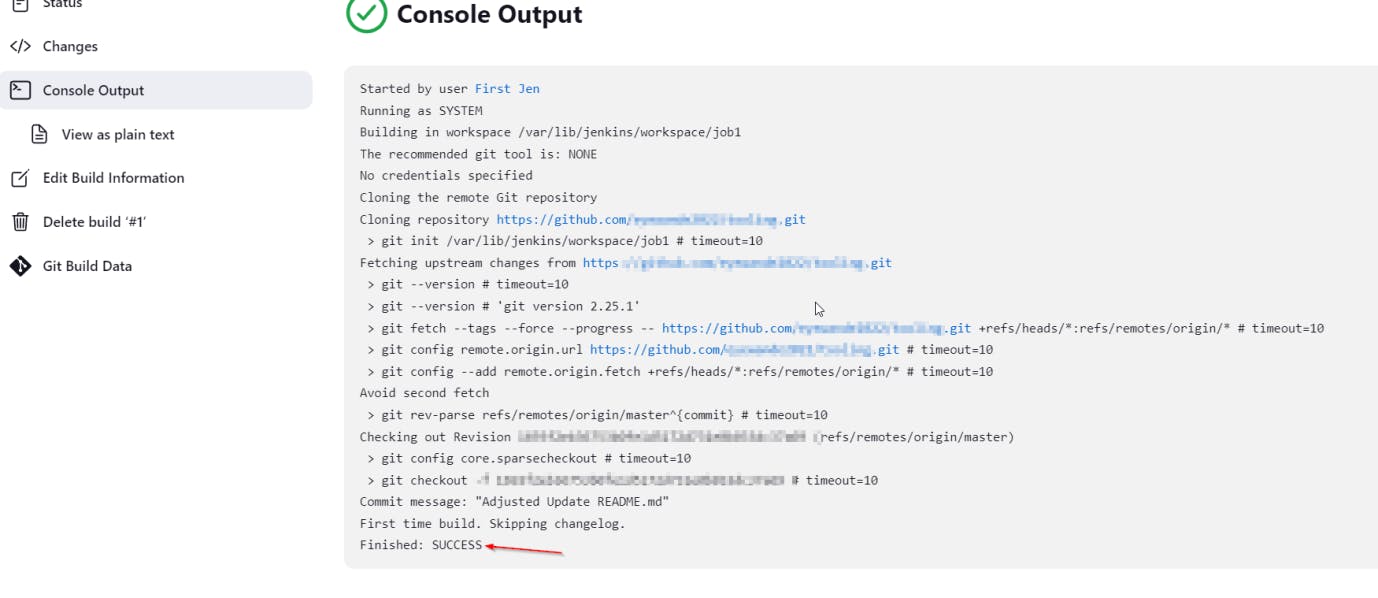
The console output illustrated how Jenkins created a workspace file with the help of the user admin called “job1”. If we navigate to this (/var/lib/jenkins/workspace) directory on our local machine and view the file content you would see the job1 created as shown below

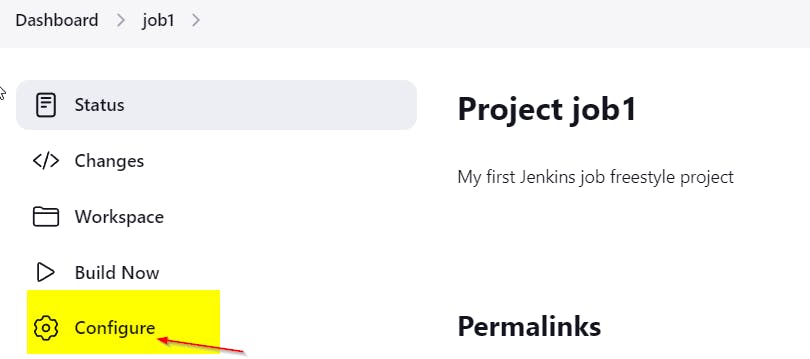
Please note that this is a manual trigger hence it doesn’t run anything. To begin running , we need to add 2 configurations in our project To get this done we need to navigate to the “configure” and navigate to “Build Trigger” and select the GitHub webhook as shown below .

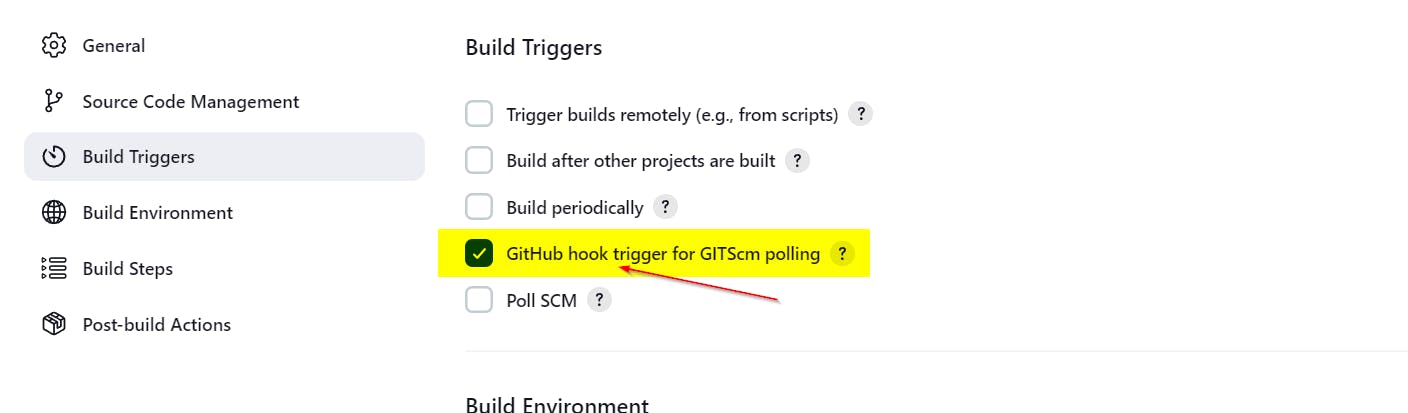
Apply and Save. Then proceed to try to automate using your Jenkins which is different from manually building it as we did previously .
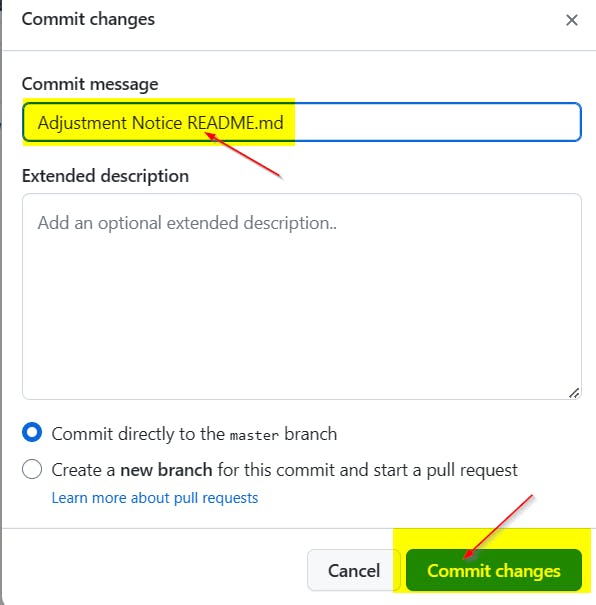
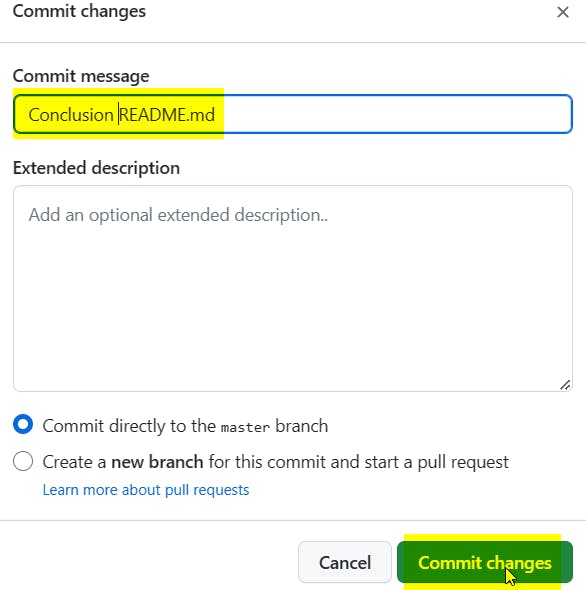
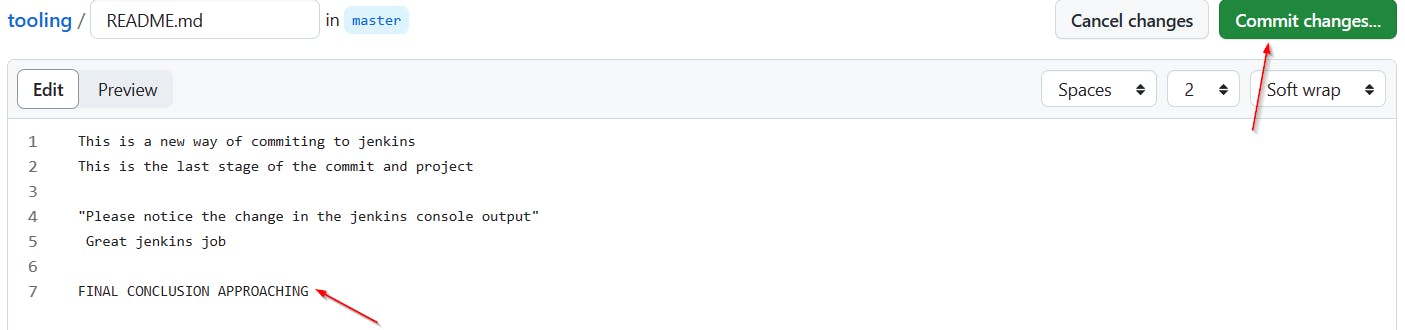
Navigate to the README.md file on GitHub and do the editing and click on commit changes


Ensure you also make changes on the commit message to always show clear difference between changes and commit on Jenkins.
Once committed, Jenkins is triggered within seconds and hence we can see the second build
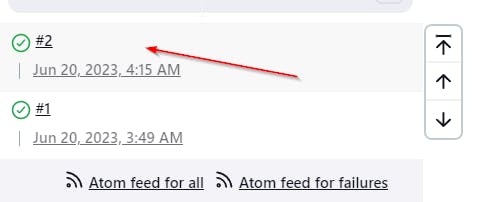
Click on the build2 to check the status and console output respectively.


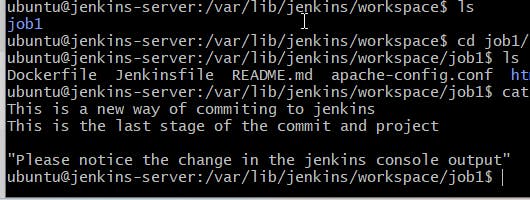
On the terminal. Changing the directory to job1. It is evident that the README.md is located in the job1 folder and if we check its content, it is as expected and displayed below
As a DevOps Engineer , we need to be able to set up a Jenkins server that would help in monitoring the changes we have on version control management software like GitHub . This would make it easy for monitoring the source codes the developers pushes to the git repository
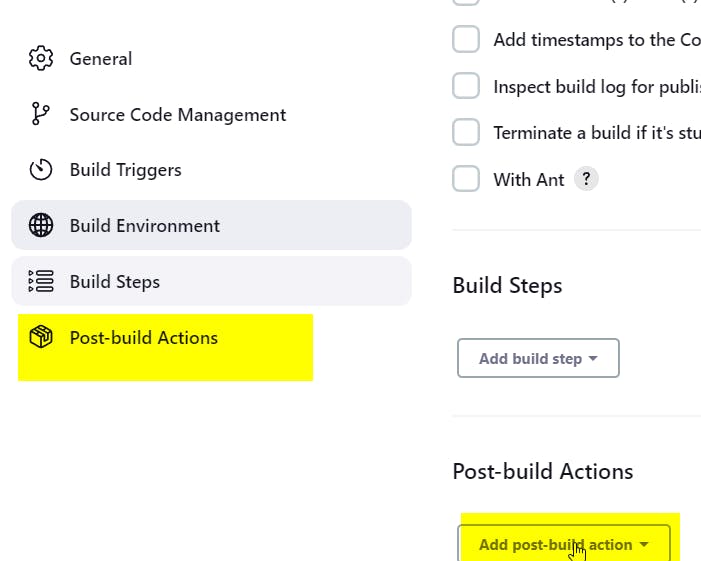
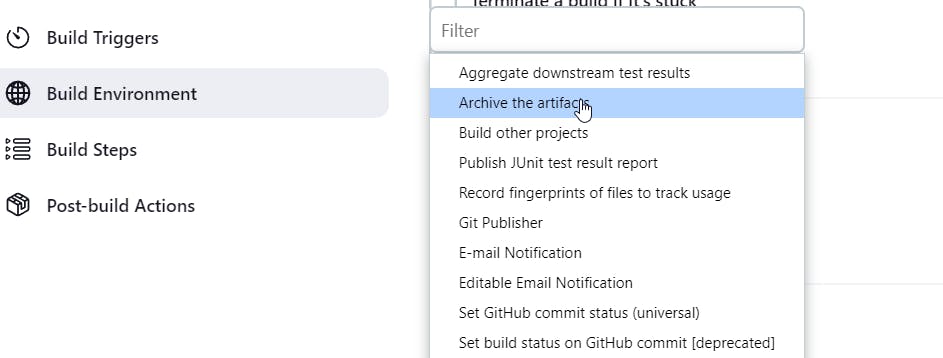
POST-BUILD ACTIONS CONFIGURATION
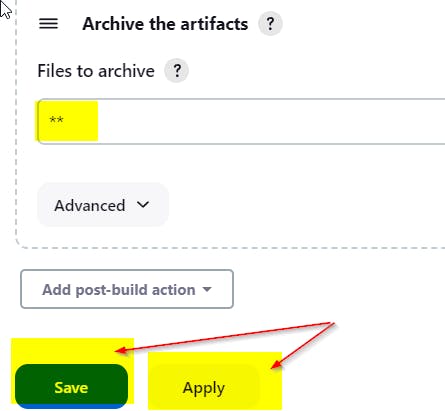
Whenever Jenkins triggers source codes, it packages the files and they are called artefacts. Navigate back to “configure” section in Jenkins and click on it and locate the post-Build actions as seen below

Select “archive the artifacts”, Type ** to make sure Jenkins archives every build artifacts. Click on “ Apply” and “save”.
Next step is to find the Jenkins build on the terminal and change directory into job1 and check its content, locate builds folder and access it
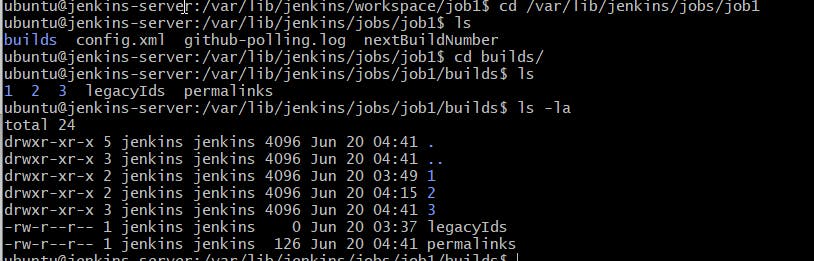
Navigating to “build 3” folders, we can see the archived files we shown below

CONFIGURE JENKINS TO COPY FILES TO THE NFS SERVER VIA SSH
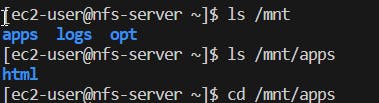
We have the artifacts saved in our Jenkins server ,we have to copy them into our NFS server and have to save it to our /mnt/apps directory
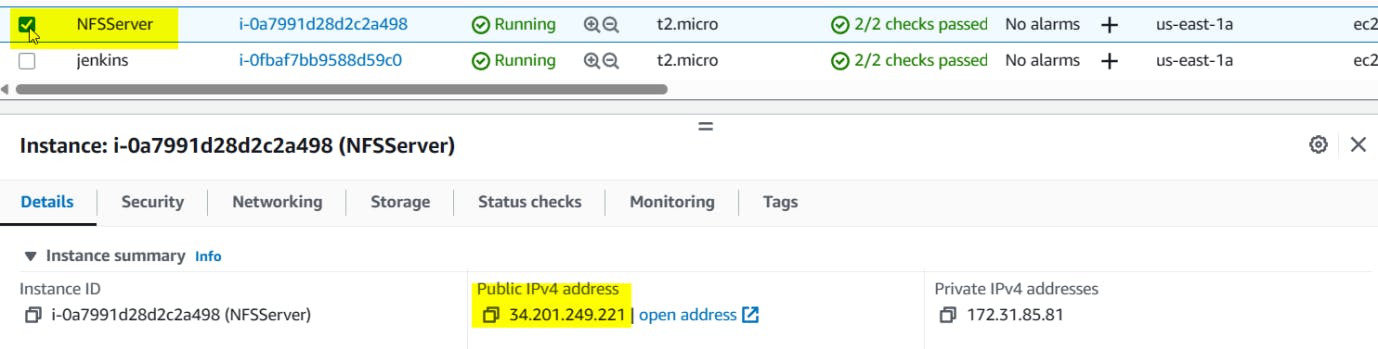
Navigate to the nfs server created and
Check the content of /mnt/apps directory.
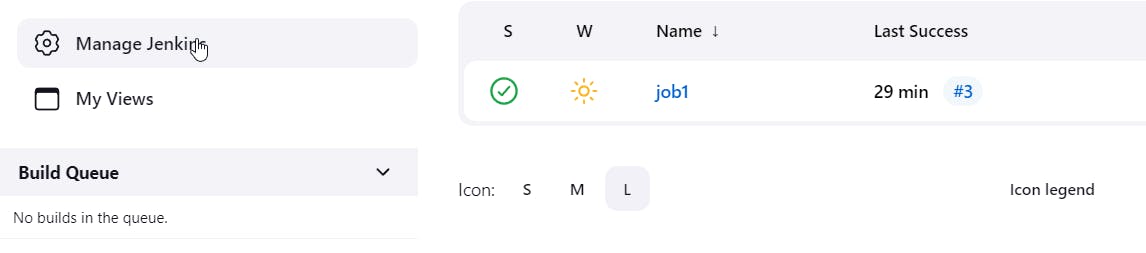
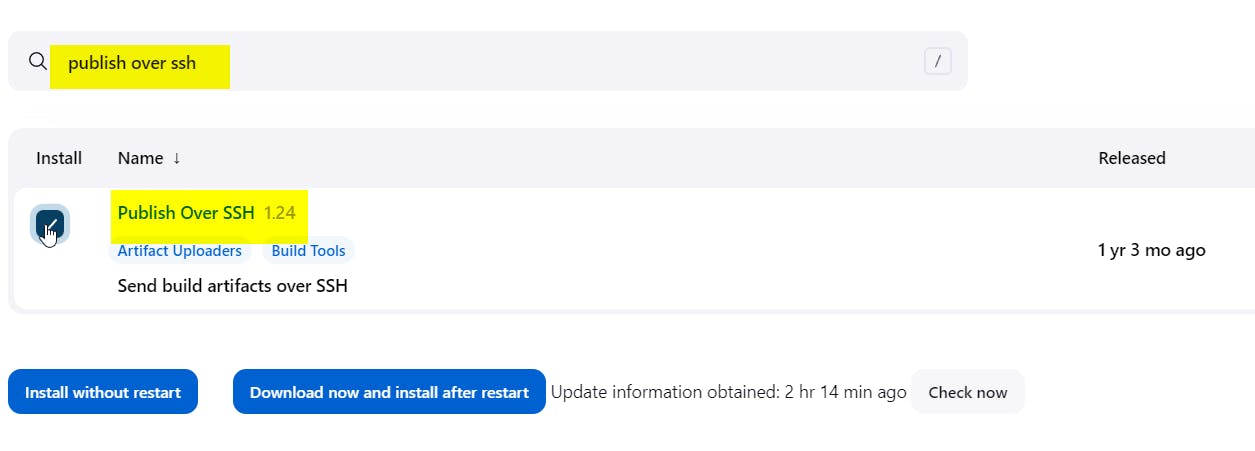
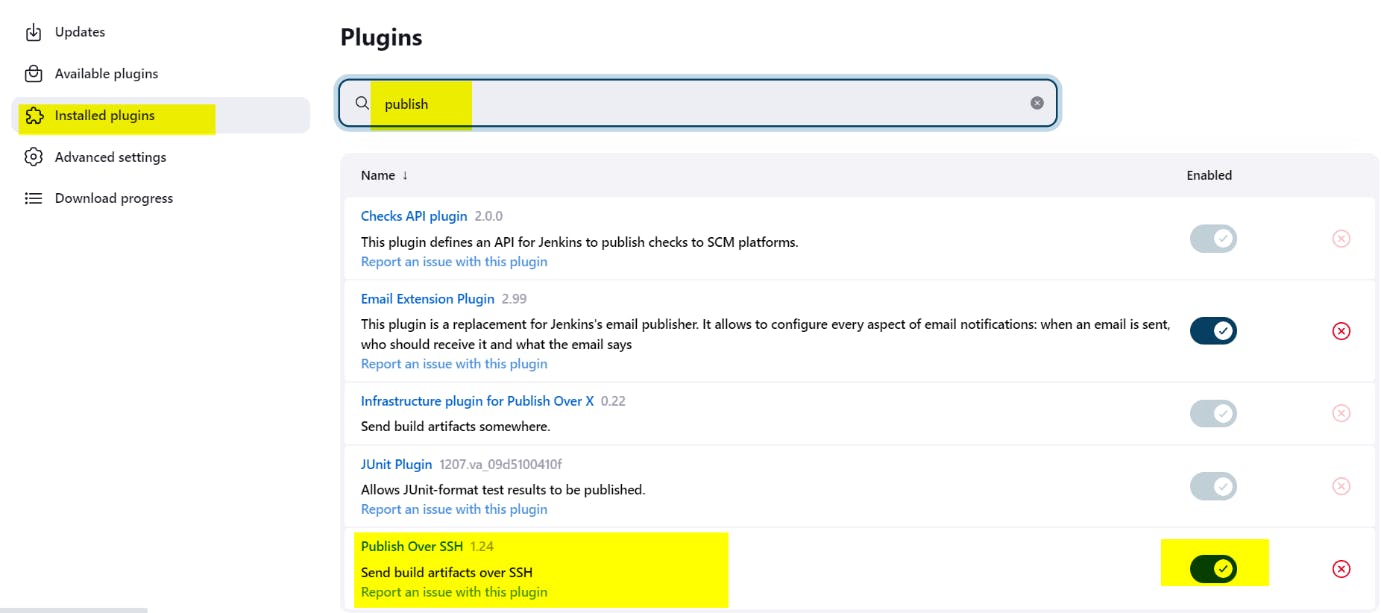
We should install the Publish Over SSH plugin on Jenkins. Navigate to “Manage Jenkins”.
Select Plugins, Click on available plugins and type on the search box “Publish Over SSH” and make sure you select and install without restart


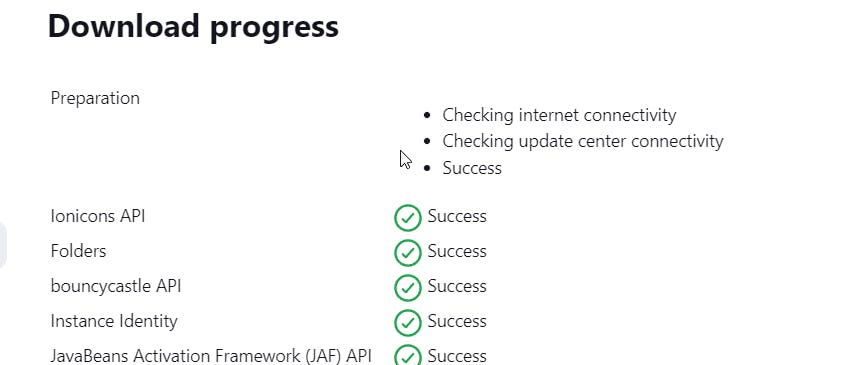
Successfully installed. Check the Installed plugin and it can be seen it is correctly installed.
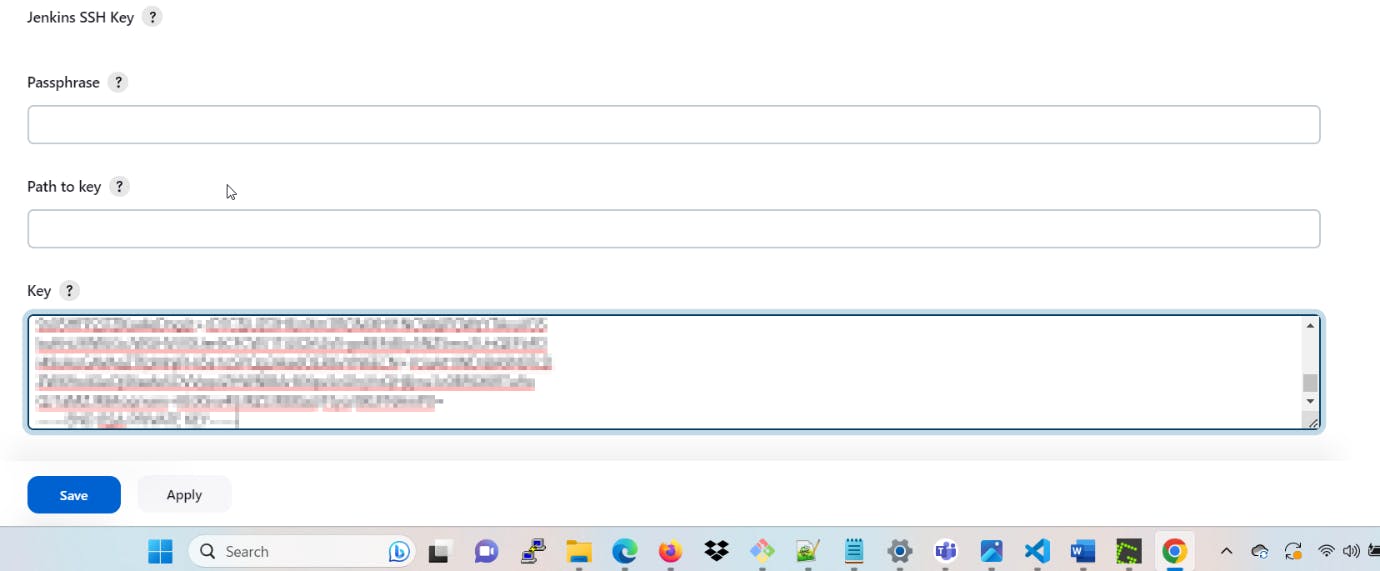
Navigate back to Manage Jenkins and click on Systems and navigate to Publish over SSH. Provide your private key
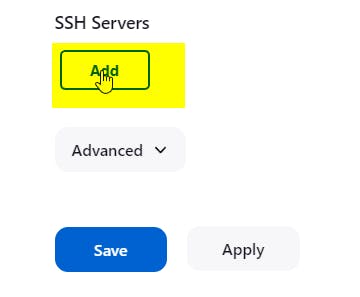
Click on Add SSH and fill in the server name, private IP address ,terminal username and remote directory

Proceed to test the configuration and it shows success
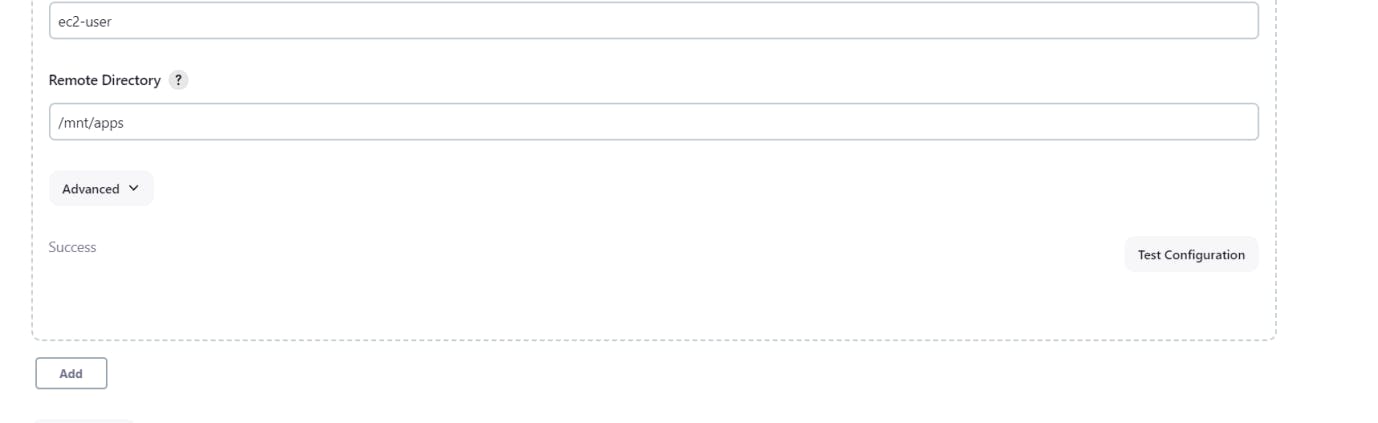

Click on “Apply” and ”Save ” and ensure that port :22 is open in the nfs server .
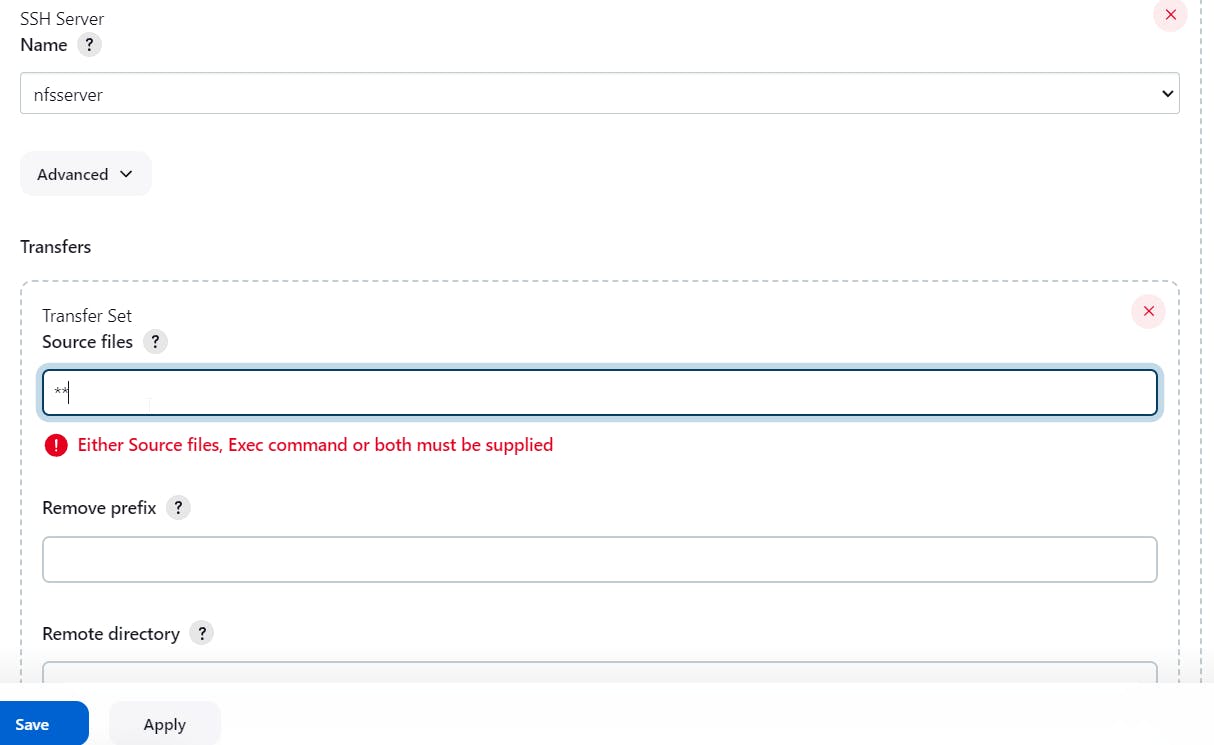
We are to configure it to send all files produced by the build into our previously defined remote directory.
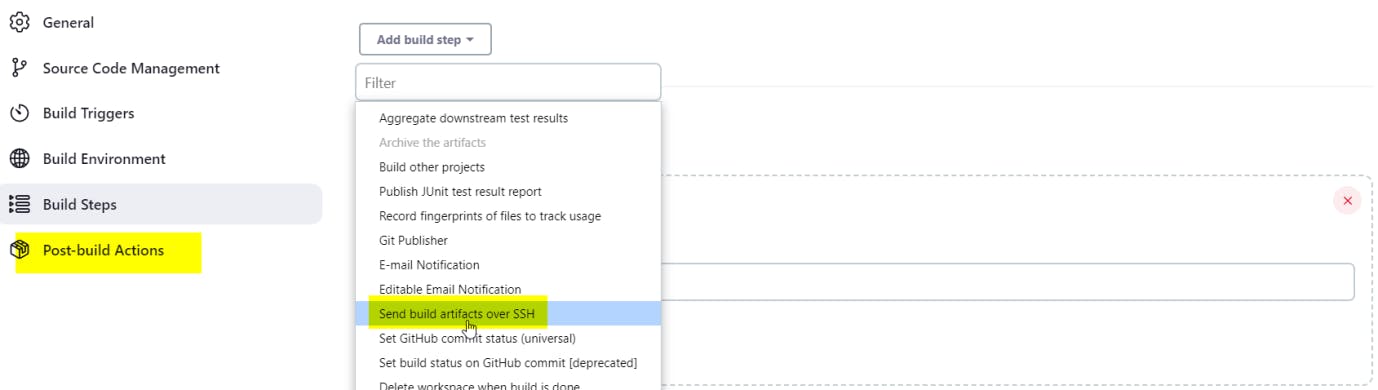
Navigate back to the Jenkins dashboard, go to configure and navigate to the post-build actions

Add another post build action. “send build actions over SSH
Type in ** in the source file edit box and “Apply” and “Save “
Now Jenkins is listening now. We navigate back to git hub and make a change.
Once changes are committed and we check on Jenkins it was initially pending and then finally successful .


Clicking the link, we can check the status as successful.

Navigate back to the terminal and check the files in /mnt/apps as shown below, we can see all the files are there .
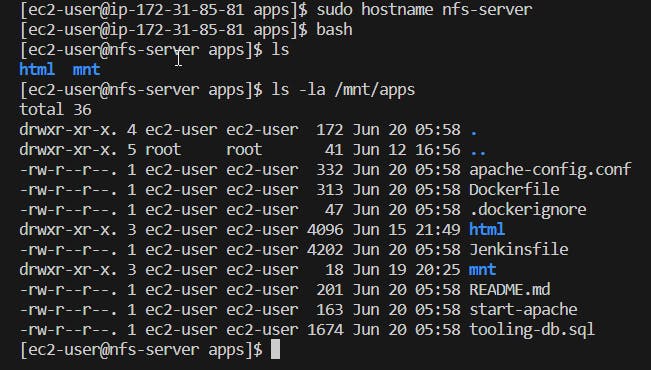
We have been able to move the files from Jenkins Artifacts to the NFS server.

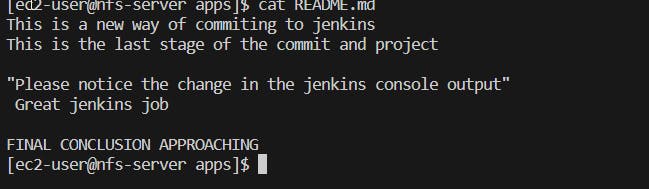
This is exactly what we want to achieve. Checking the README.md file we can see the files on there.
We have been able to successfully implement the Jenkins server using a tooling solution.
Congratulations 👏 🎉 💚