Auto-Scaling Group Configuration on AWS for complete beginners
Autoscaling group is the collection of Amazon EC2 instances that is automatically managed and scaled to enable high availability and performance of our applications.It ensures you have the right number of instances to handle the application load
Below are the steps to creating an auto-scaling group
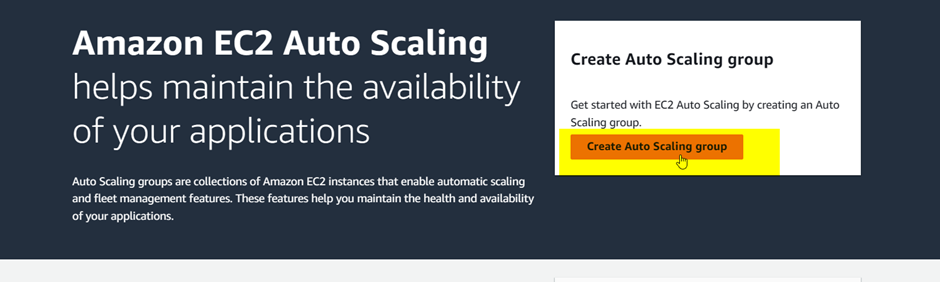
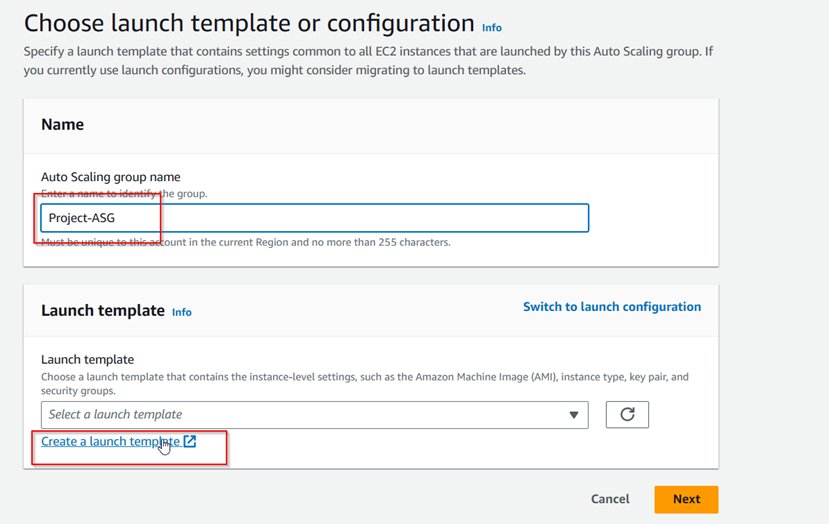
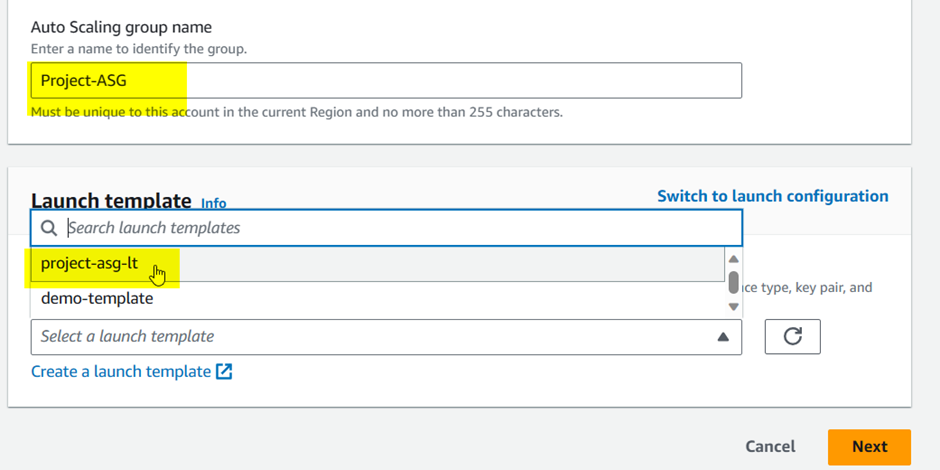
Navigate to the Amazon EC2 Auto Scaling and click the “Create Auto Scaling group” button and enter the ASG details and create a launch template.
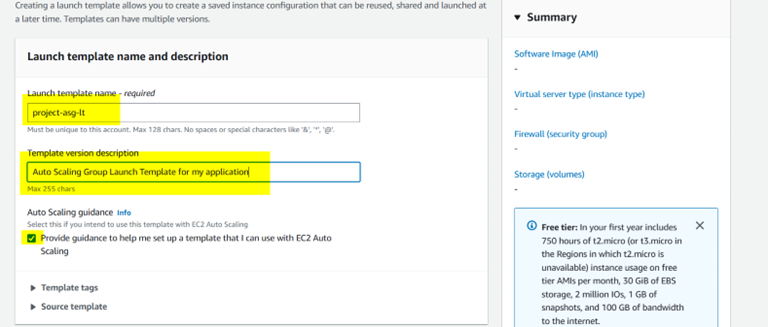
Fill all relevant details and check the “Auto Scaling guidance”.
Choose Instance type
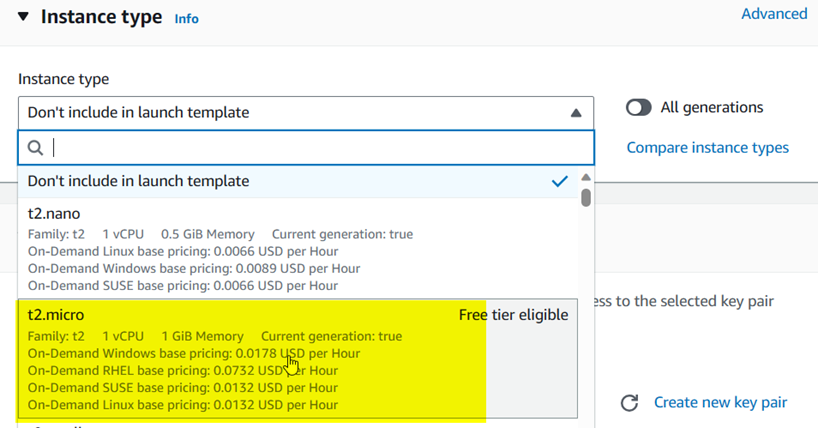
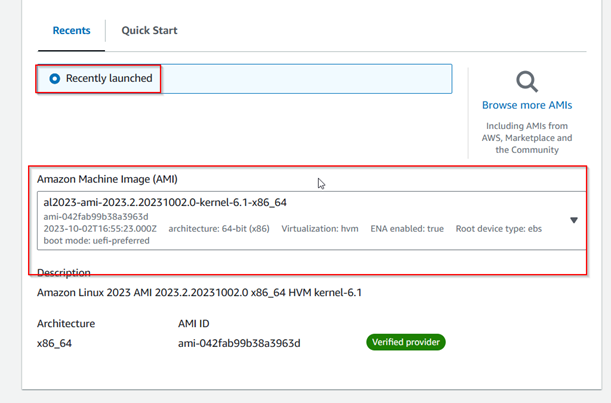
We are using the configuration of the recently launched instance as shown below
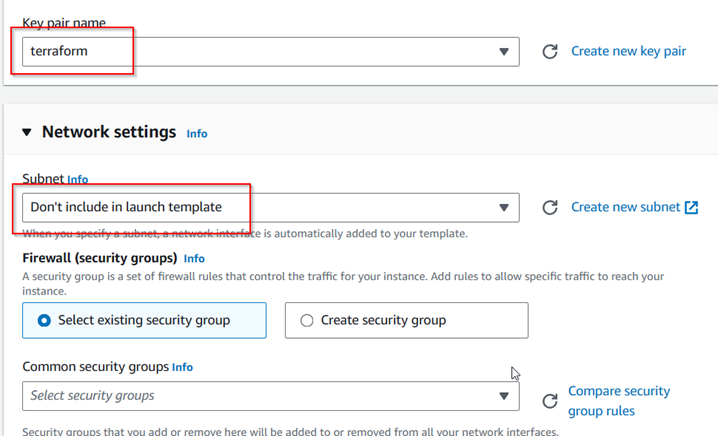
Select keypair and don’t include subnet with the launch template
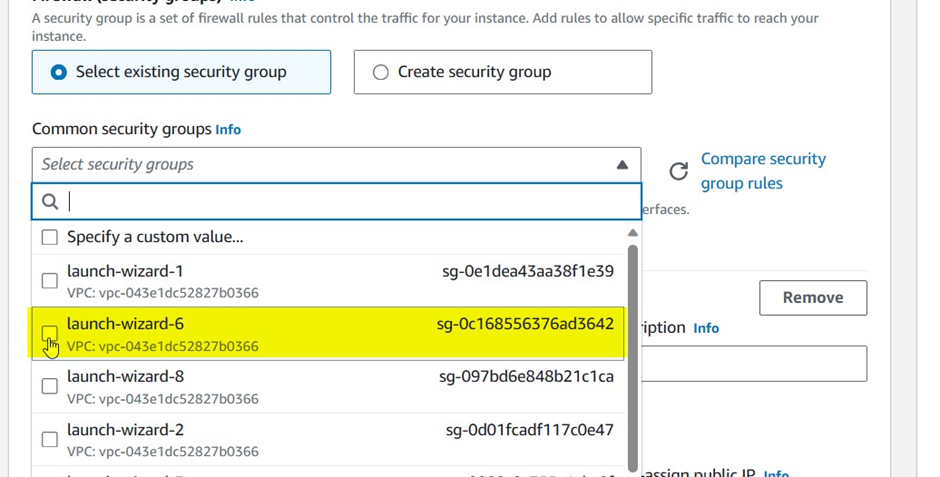
Select the security group and click the “Create the launch template” button

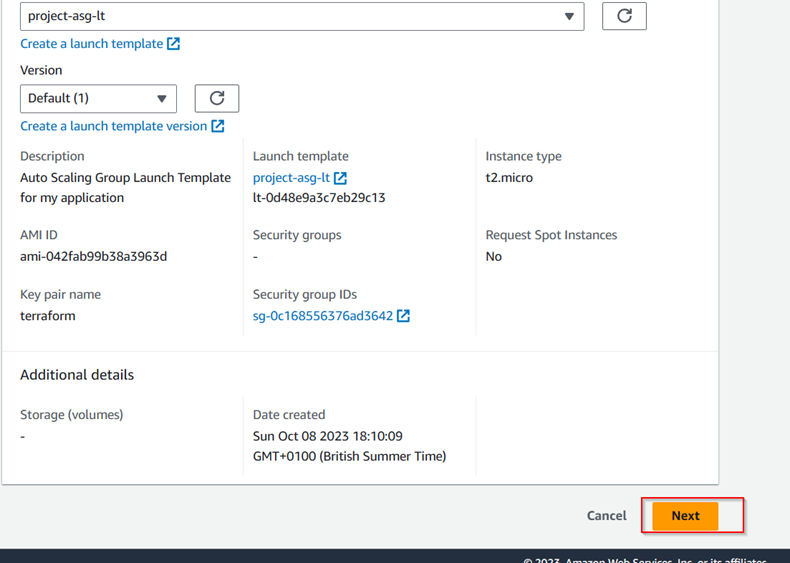
Launch template created successfully
Navigate back to the ASG page to refresh and find the newly created launch template and click the “Next” button
Navigate to the network section
Select the default vpc and Select the 3 availability zones we are using and their public subnets as shown below
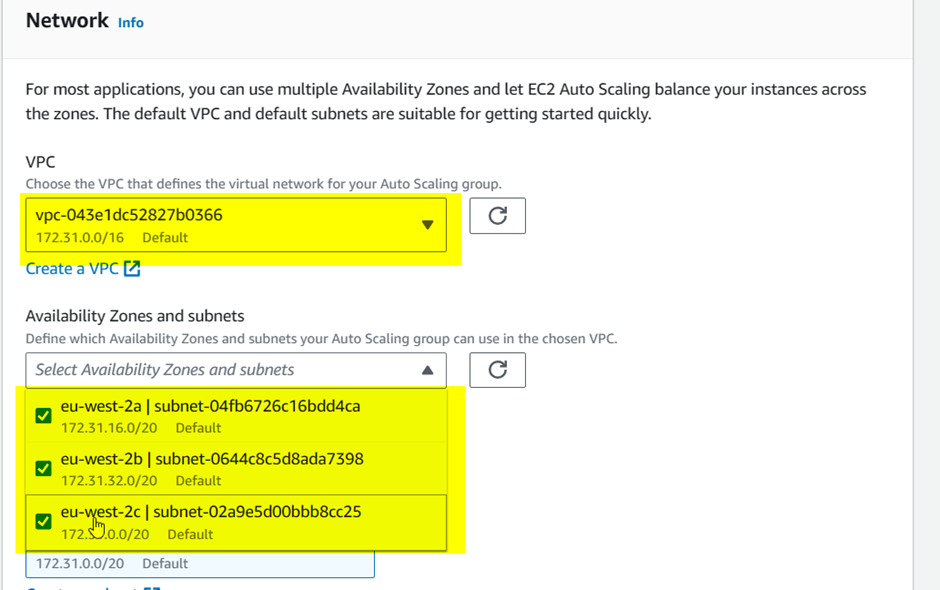
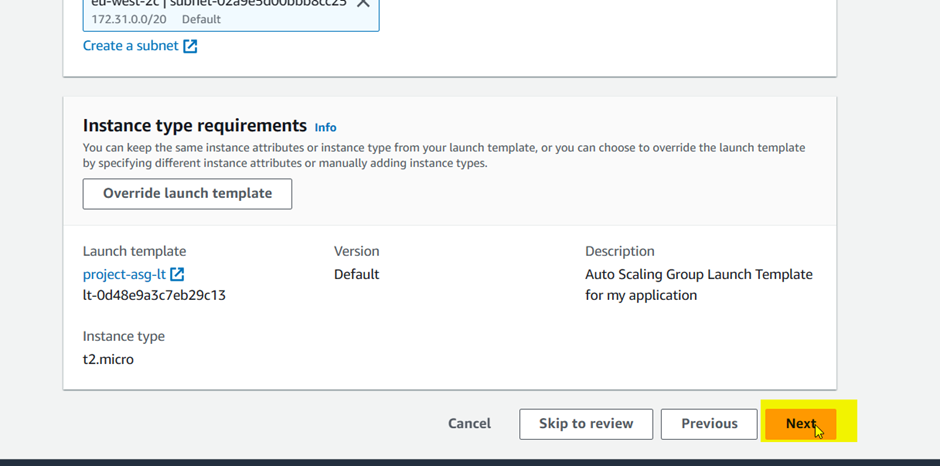
Click next and navigate to the load-balancing section
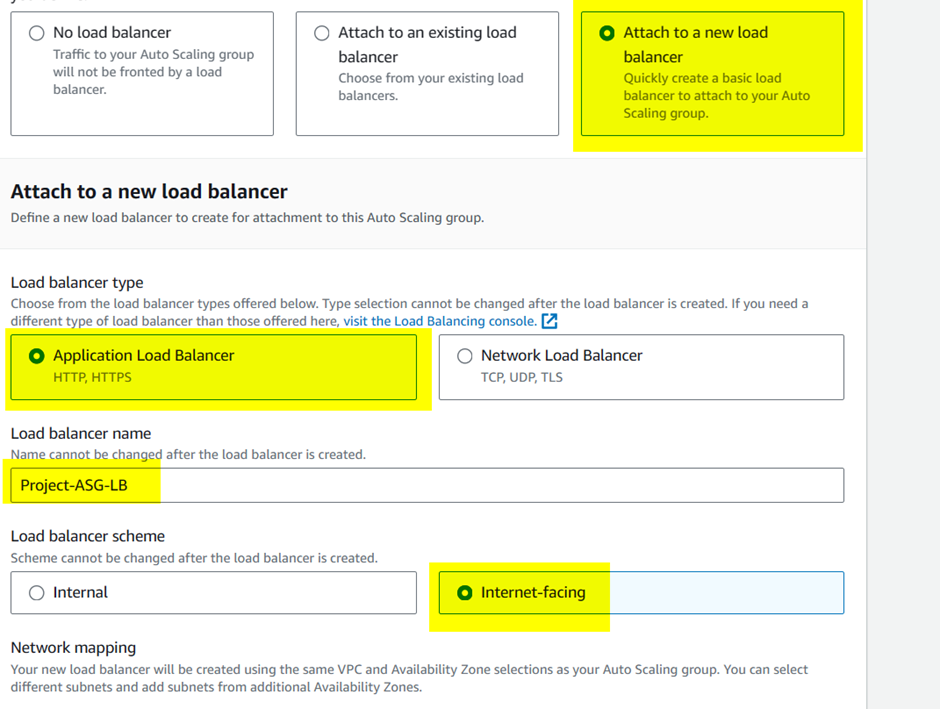
Attach the new load balancer and select the application load balancer because we are using our HTTP and HTTPS
Give the load balancer a name and make sure it is internet-facing because we want to ensure our clients are able to access it.
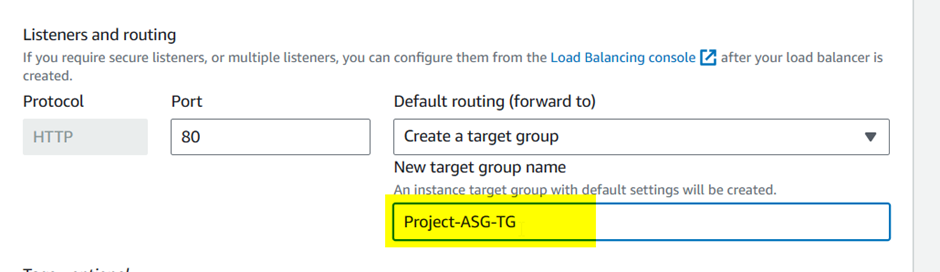
Create a target group so that our load balancer points to it
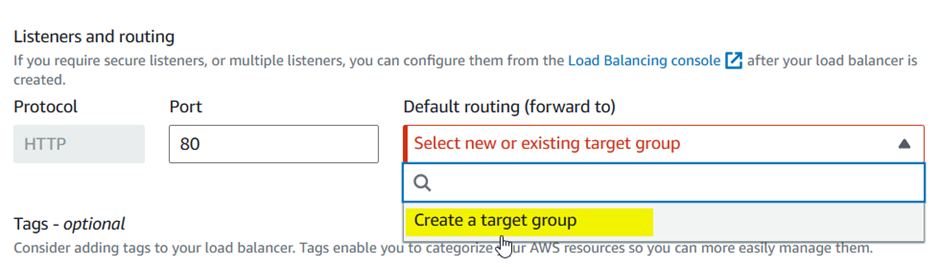
Once created select the new target group
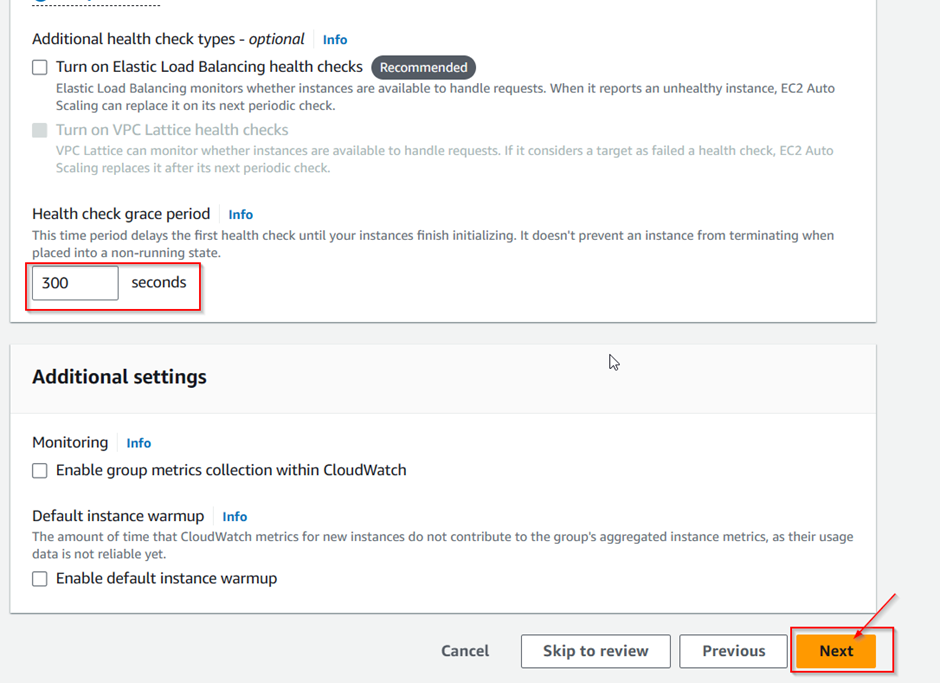
Take note of the health check grace period which was set to default 300 seconds. This is the time it takes for the instance to initialize . Click next to proceed.
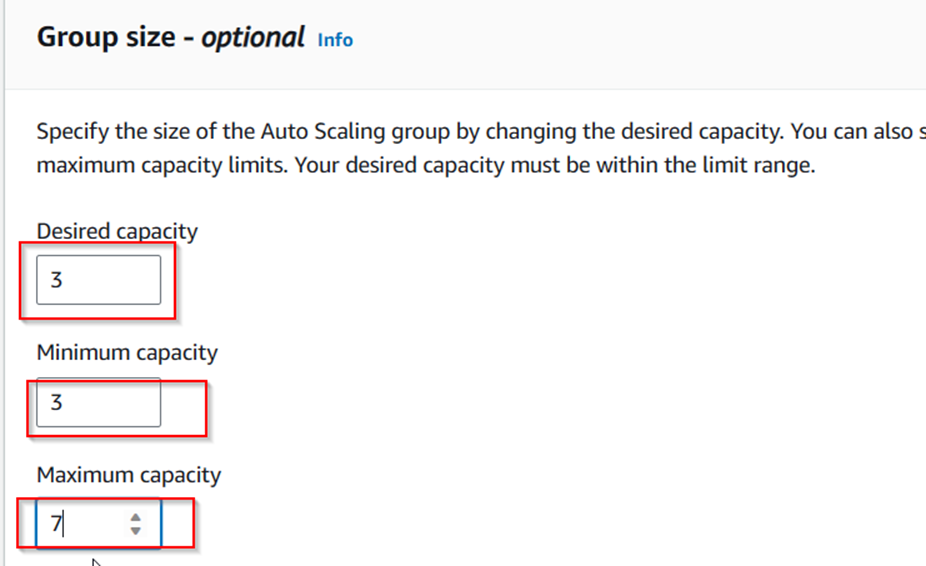
We would need to configure the ASG poilicies . In this case our desired and minimum capacity would be set at 3 and maximum capacity would be set at 7
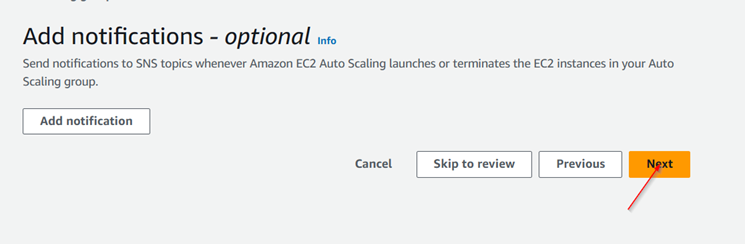
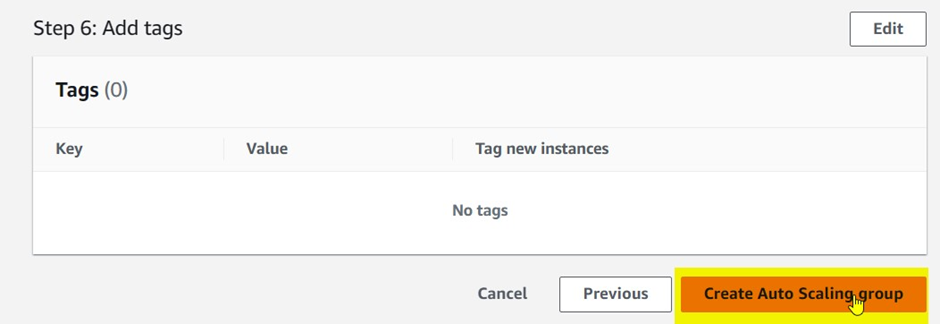
Skip SNS notification and tags options

Click to create “Auto scaling group” button. Observe it is updating and creating our new instance and can be seen when you check the EC2 instance page as shown below


3 instances running and as we can see the Load Balancer is active

Our target group is created but appears none is healthy and the 3 are unhealthy.
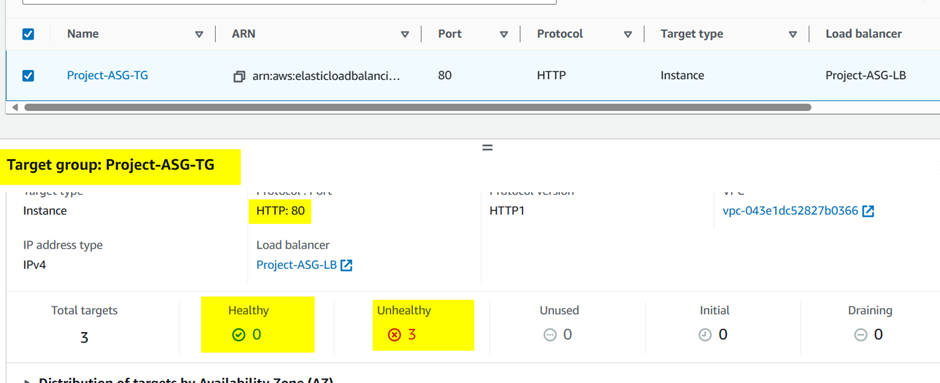
This is because we haven’t installed or updated the application which would be done on 2 of the servers now
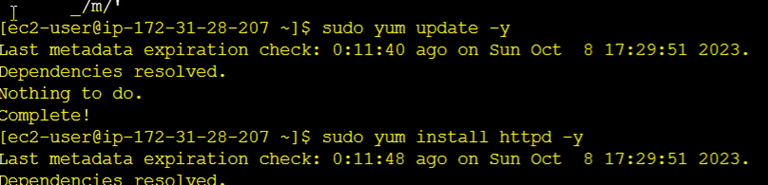
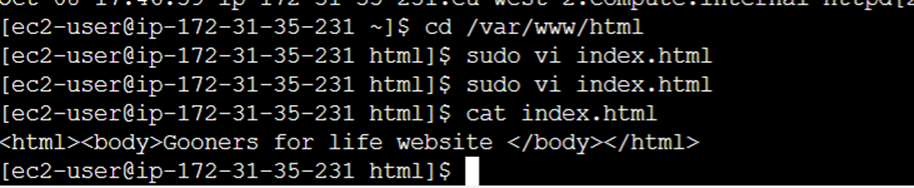
We go into our application to install httpd and create an application on our server as shown below.


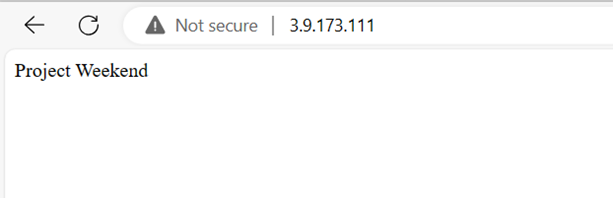
Launch on the browser to see the first server
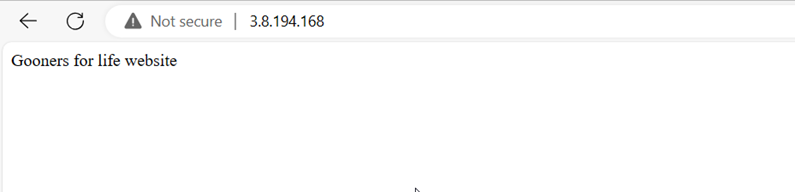
Carrying out the same tasks for the second project server we get this below
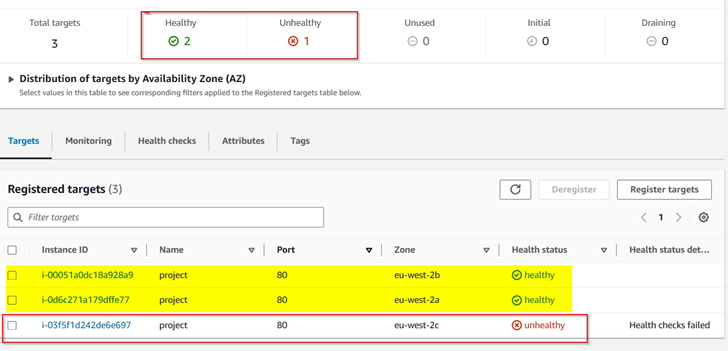
Navigate back to the target group and we can confirm the healthy checks below
Check the load balancer if working as expected
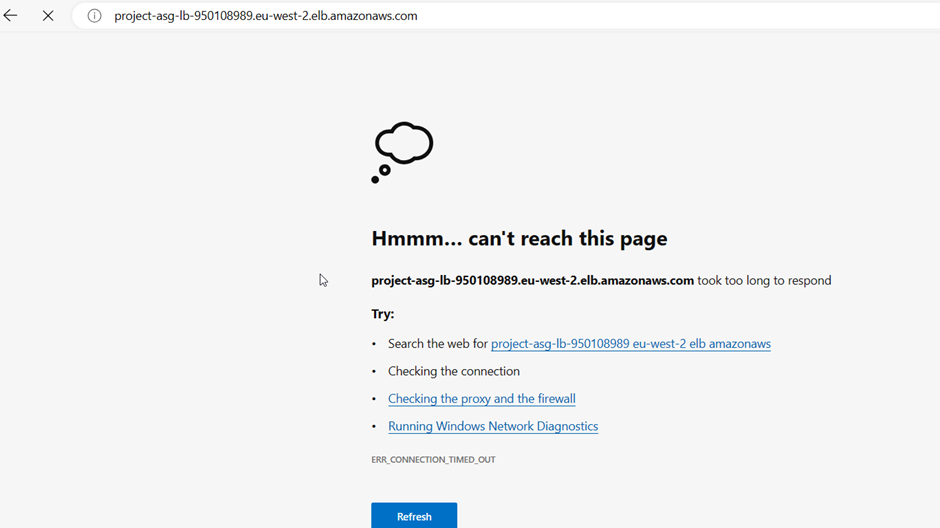
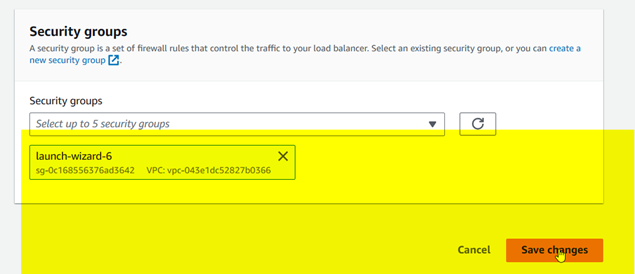
Having confirmed this . Check the security group of the Load balancer to confirm if it is working with the one we assigned to the ASG and change it to the correct one

Check the load balancer if its working properly
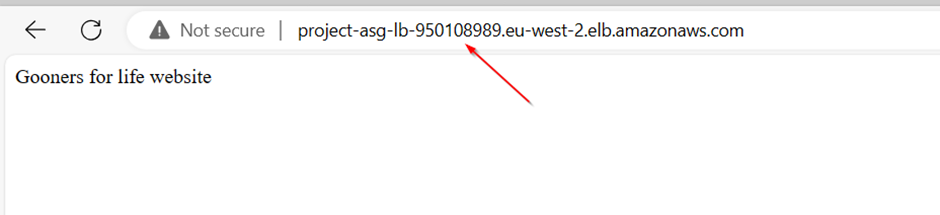

Our LB is working perfectly hence we have concluded to set up our ASG successfully with the target group, load balancer as well.
Please note: Remember to terminate all infrastructure as they would accrue costs if you are conducting a demo.
Congratulations