8 easy steps to install WordPress on an EC2 instance


In this project, we would be launching and configuring WordPress on an EC2 instance. Steps would be required to set up our environment.
STEP 1: Launching an EC2 Instance:
Click on "Launch Instance" to initiate the instance creation process.
Choose an Amazon Linux 2023 (AMI)and choose the instance type. Configure details like instance size, network settings, and storage and security group to allow inbound traffic on ports 80 (HTTP) and 443 (HTTPS) for WordPress.
EC2 Instance launched.

Use SSH (Secure Shell) to connect to the EC2 instance from your terminal or SSH client.
STEP 2 : Installing a LAMP STACK (Linux, Apache, MySQL, PHP)
This would require the following :
a) Update the package lists for upgrades and new installations.
b) Install Apache: Use 'dnf' package managers to install Apache webserver because the latest one in 2023) can only be installed by 'dnf' .
c) Install MySQL or MariaDB and set up a database, user and password for WordPress.
d) Install PHP and necessary PHP modules required by WordPress.
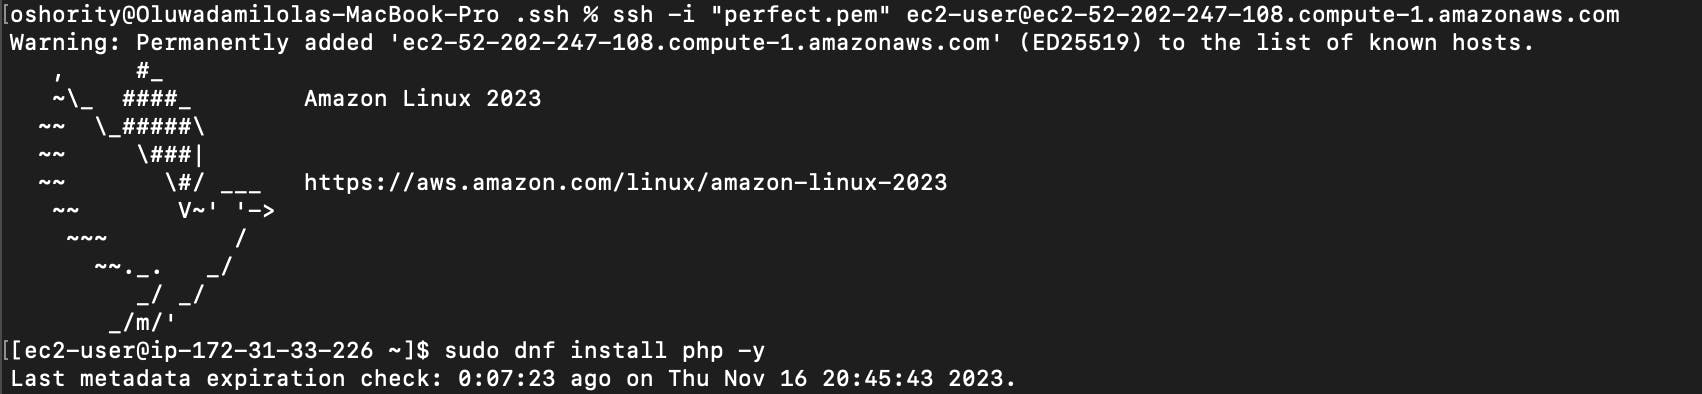
sudo dnf install php -y
sudo yum install httpd -y
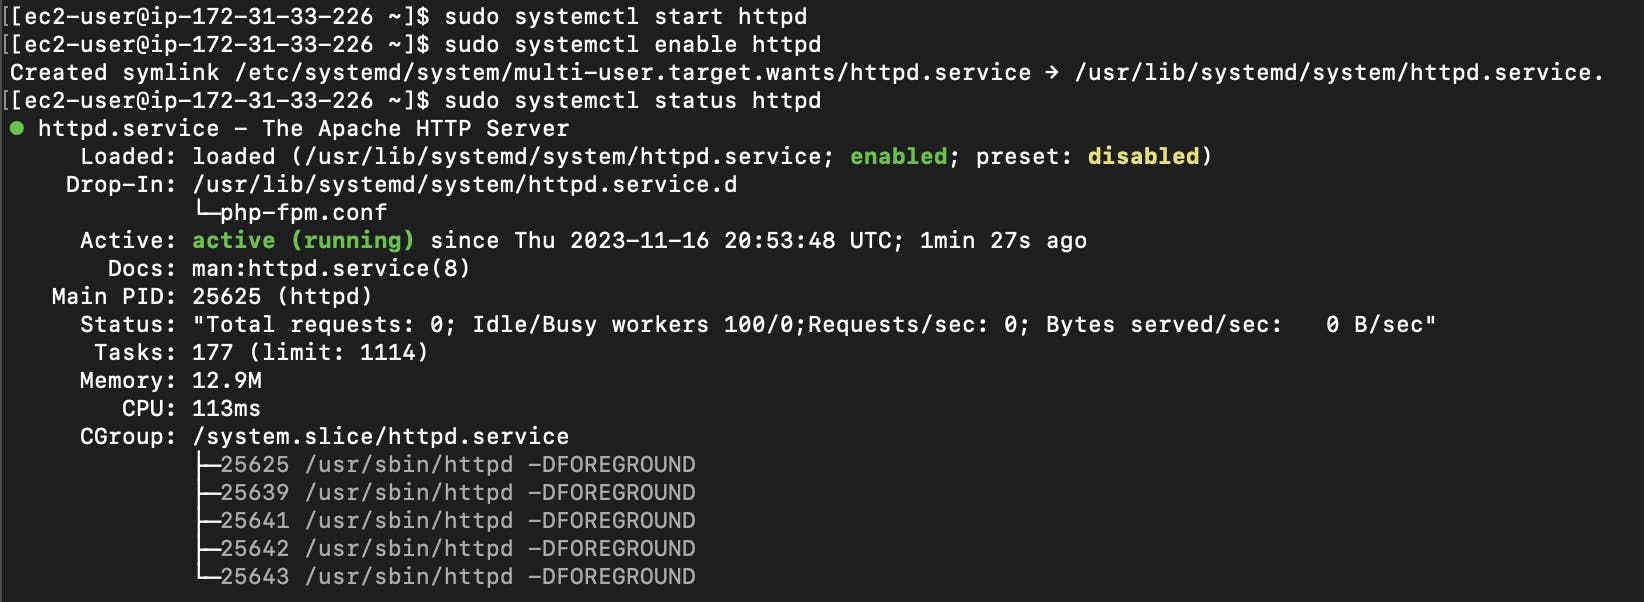
Start and Enable Apache and ensure it is running
Install PHP and necessary PHP modules required by WordPress.
sudo dnf install -y wget php-fpm php-mysqli php-json php php-devel

STEP 3: Configuring MySQL/MariaDB
Install MySQL or MariaDB and set up a database, user and password for WordPress. We would be installing MariaDB server.
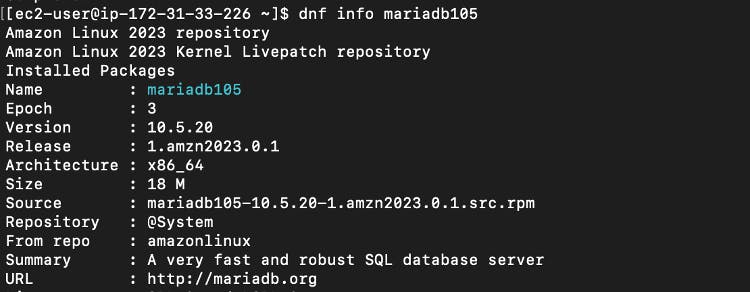
sudo dnf install mariadb105-server
dnf info mariadb105

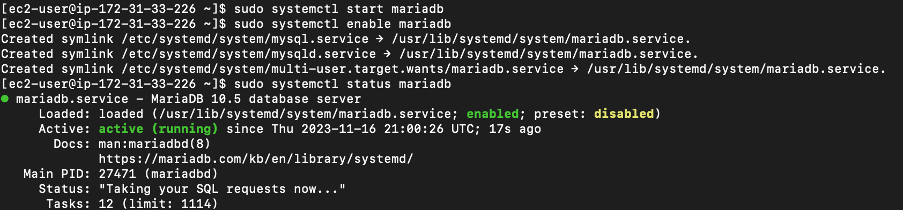
sudo systemctl start mariadb
sudo systemctl enable mariadb
sudo systemctl status mariadb
LOG ON AND CREATE A NEW PASSWORD FOR MYSQL
Secure the MySQL installation
sudo mysql_secure_installation
Ensure to change the password to your preferred password.
Type Y to remove the anonymous user accounts.
Type Y to disable the remote root login.
Type Y to remove the test database.
Type Y to reload the privilege tables and save your changes.

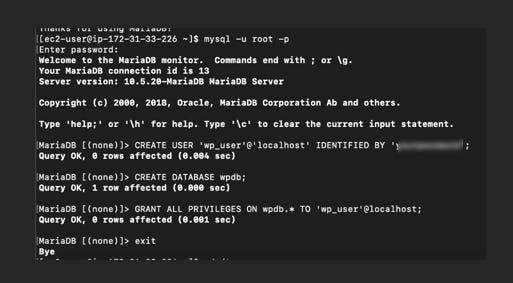
Login with your new password to access the database
mysql -u root -p
Create a new database and a dedicated user for WordPress and grant appropriate privileges to the user on the WordPress database.
STEP 4: Downloading and Configuring WordPress:
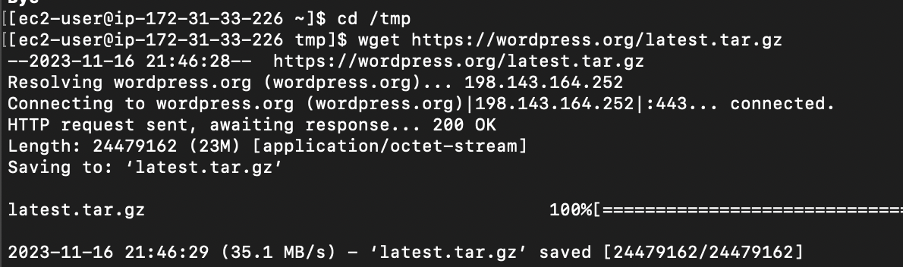
Navigate to the /tmp directory and fetch the latest WordPress package from the official WordPress website.
cd /tmp
wget [https://wordpress.org/latest.tar.gz]
Extract: Extract the WordPress files into the webserver's document root directory (e.g., /var/www/html/).
Unzip and unarchive installation packages to a folder called WordPress and confirm the folder.
tar -xzf latest.tar.gz

Move file into the html document route directory
sudo mv wordpress/ /var/www/html/

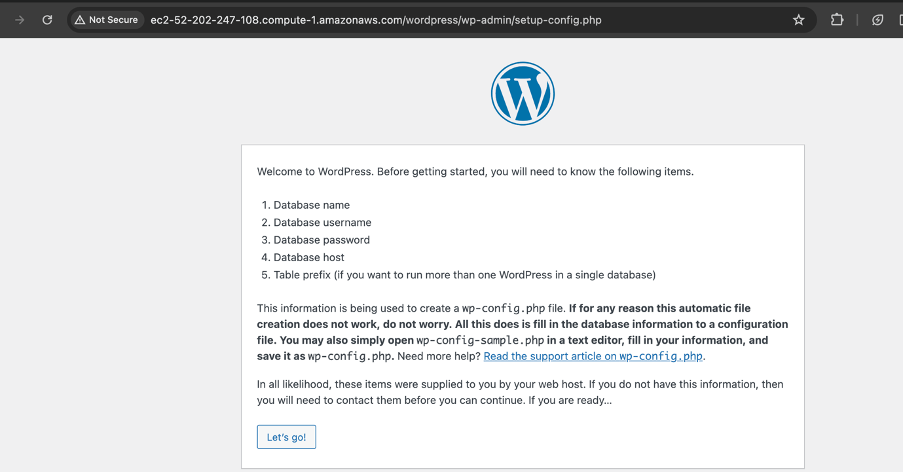
STEP 5: WordPress Installation:
Access Installation Wizard: Open a web browser and navigate to your EC2 instance's public IP or domain name to access the WordPress installation wizard.
Launch your web browser with your Public IPv4 DNS and put /wordpress as the endpoint.
[ec2-52-202-247-108.compute-1.amazonaws.com/..
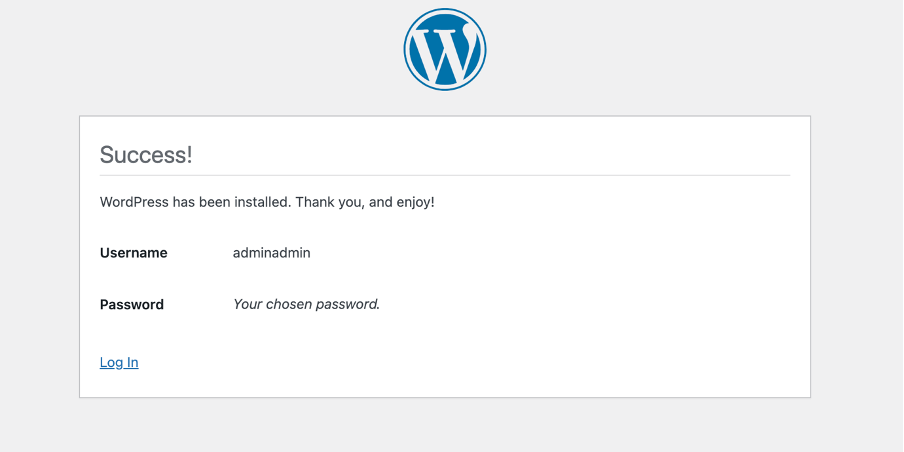
Successfully launched.
STEP 6: Database Setup: Enter the database details created earlier during the installation wizard.
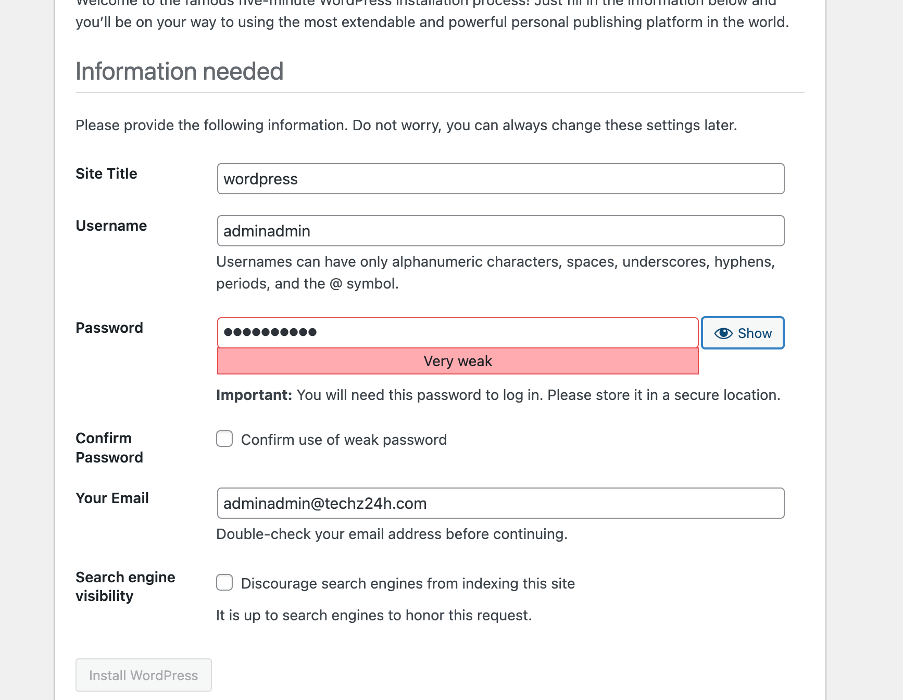
STEP 7: Complete Installation: Fill in website information, create an admin account, configure the wp-config.php file with the database details and finalize the installation.
- STEP 8 : Testing the Website: Verify that WordPress is running correctly by accessing your website.
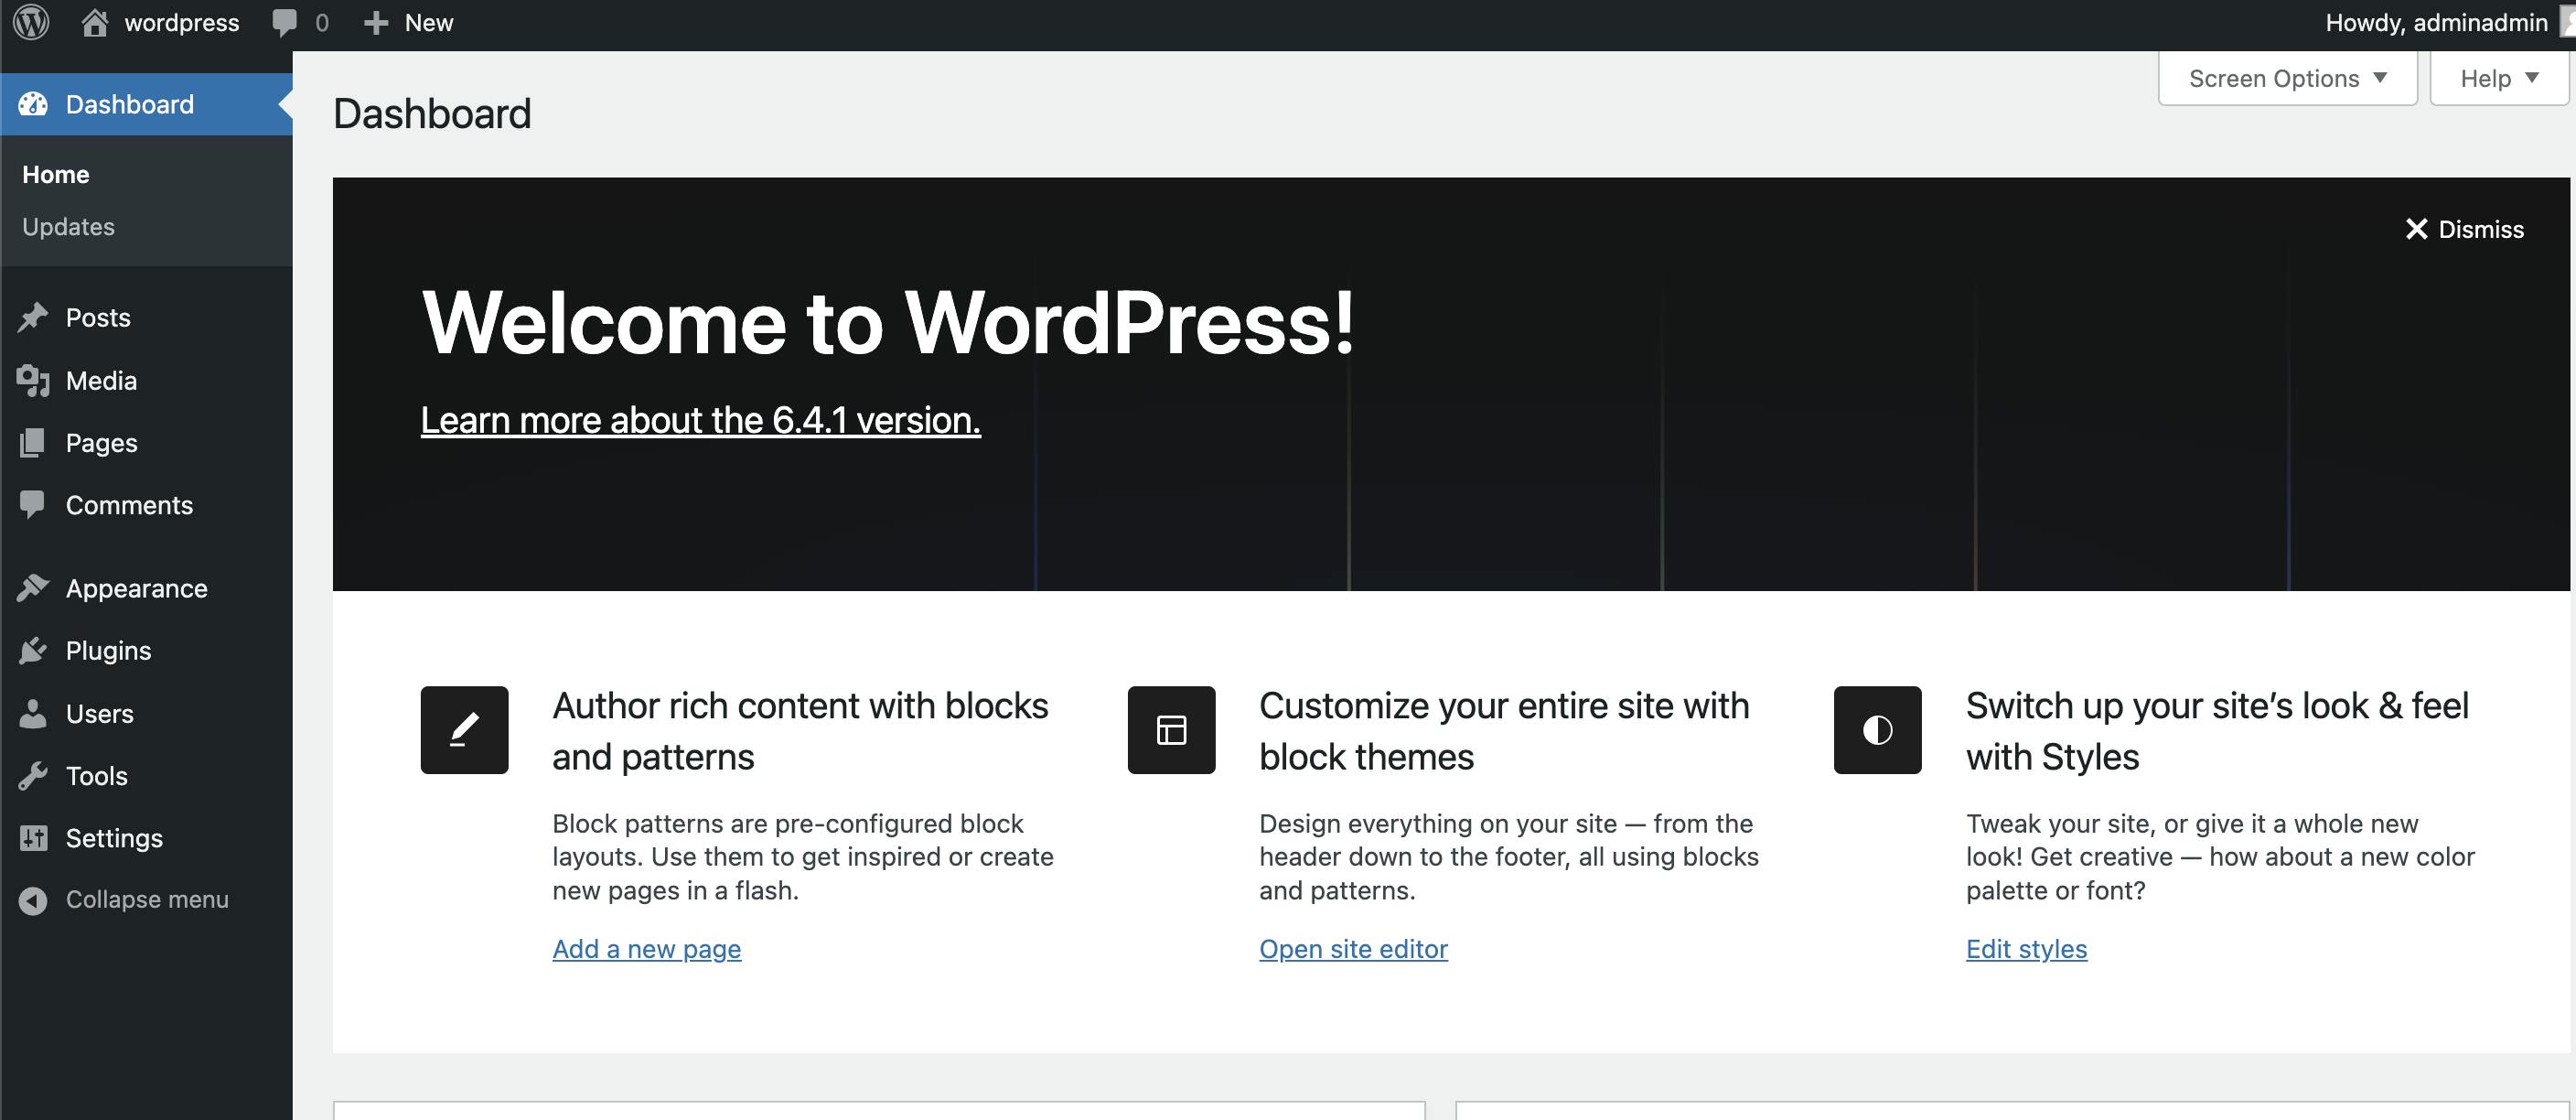
If you are just starting to use your WordPress. It is advisable to keep your system updated with security patches and perform routine maintenance.
Congratulations !!! 💚✌️